


Build Your Own Fence Guide - 7 (Final Step)
How to Hang Gates

It’s time for the last article of the Build Your Own Fence Guide. Thanks for sticking with me, I know many of you aren’t at the fence building stage of your Natural Life, but I’m confident many of you will be soon. This is a good foundation for getting into the mindset of doing your own work.
If you decide to go this route and build your own fences, I’m absolutely positive, you will be happier with the end result, you will learn many valuable farm work skills, you will get a great workout, you will be proud of your work and accomplishment, and you will save a ton of money!
Find a large selection and great deals for seeds and garden tools, plan your fall garden now!
Check out Farmer’s Fresh Market™️ for fresh raw honey and more shipped right to your door!
👇👇👇

How To Hang Gates
We’ve covered everything you need to know to layout your fence rows, put up the brace posts, pull the wire, and attach it securely to the posts. The last step is to hang your gates which is probably the easiest of all of the fence building steps!
If you recall, we covered laying out your gate openings in a previous post. You should have properly terminated H-braces spaced the width of the gate opening on both sides.
Acquire your gates from your supply store, keep in mind there are different options for gates. Color is the most obvious option, you’ll want to pick a color you like, and I would recommend that all of the gate colors match on your property, but it’s not required.
The most important option you need to think about is the gate construction. Gates are made for different types of animals. Horses and cattle can get by with a bar style gate like this:

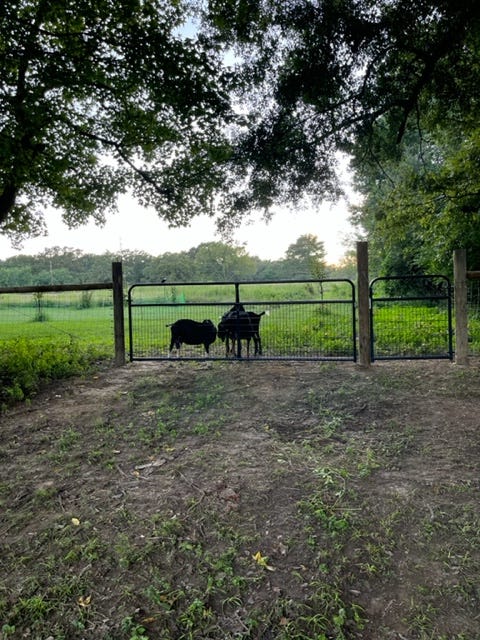
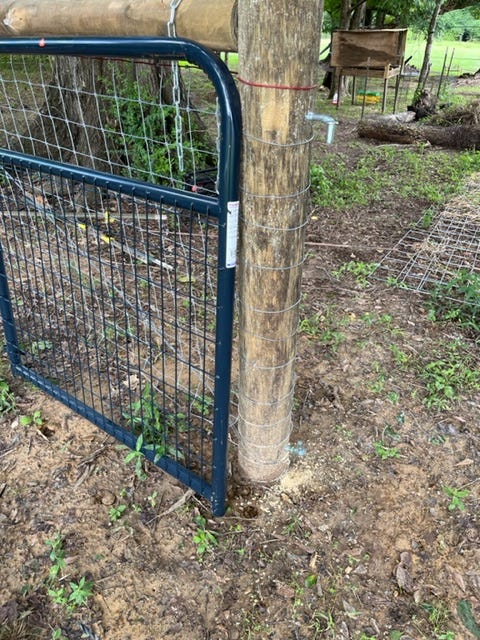
For keeping goats, pigs, and other smaller animals, you want to go with gates with wire mesh. If it were me, I would opt for this type of gate regardless of the animal you’re fencing in. Especially if you spent the extra money and work to put up goat fencing, you should go ahead and get a gate for goats. Like this:

Installing this type of gate is pretty straight forward, but there are a few tricks to get them set up right, which we’ll cover now. It’s best to have a helper with you for hanging gates.
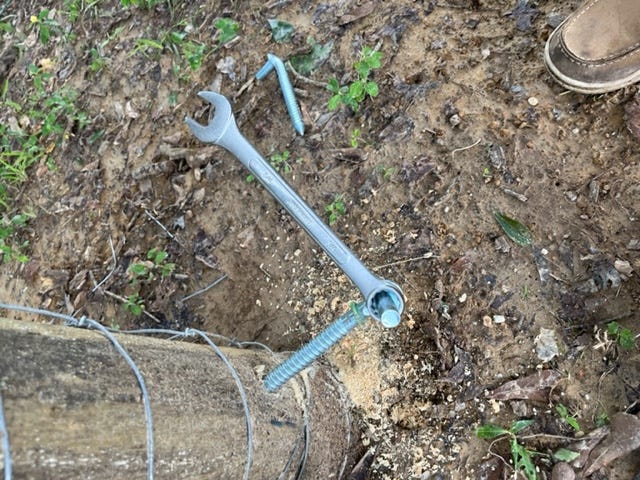
If you look closely in the picture above, they come with two hinge pins. These are inserted into the wooden posts on which the gate hinges hang on. Most gates come with (2) 6” long 5/8” diameter screw-in type hinge pins.
Start by holding the gate up to the opening where it will go. Make sure you have it facing the right side. You may want it to swing towards you on the right, or to the left. Whichever way you decide, put the end of the gate with the hinges up against the wooden post that it will hang on.
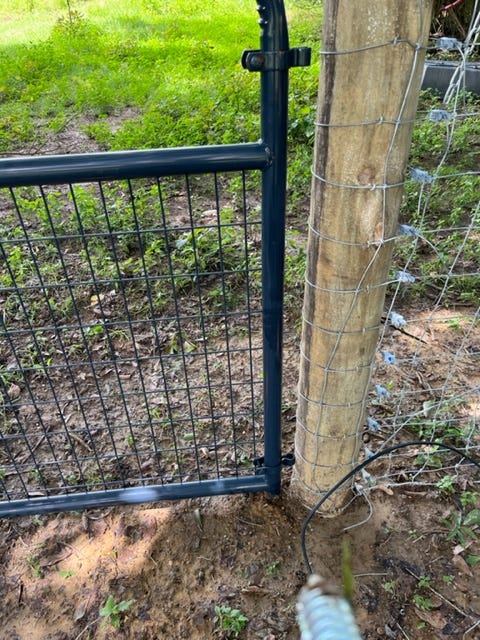
It’s important to make sure the gate is level with the top of the wire fence. So with the gate in position, you may need to set it up on wooden blocks to get the gate set to the right height.
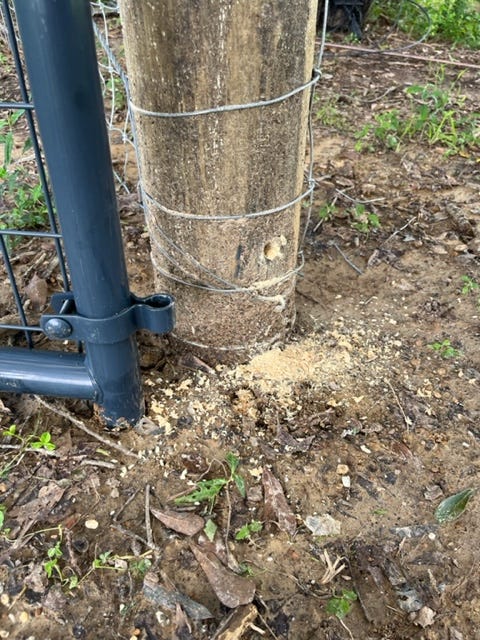
With the gate at the right height and position, make a mark right above the bottom hinge on the wooden post.
Drill a hole with a 9/16” drill bit approximately 5” deep directly in the center of the wooden post on your mark.
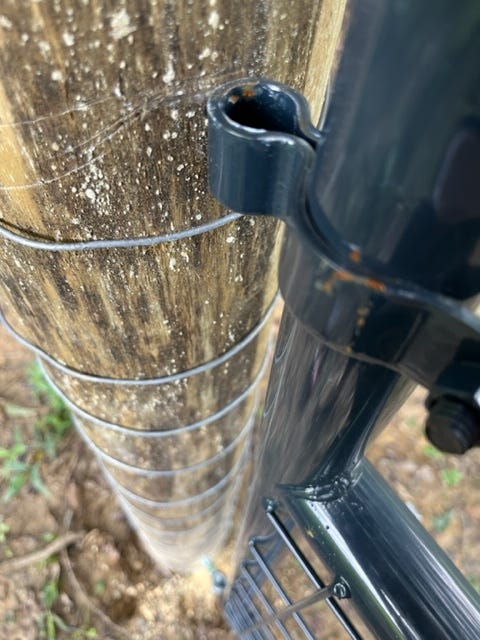
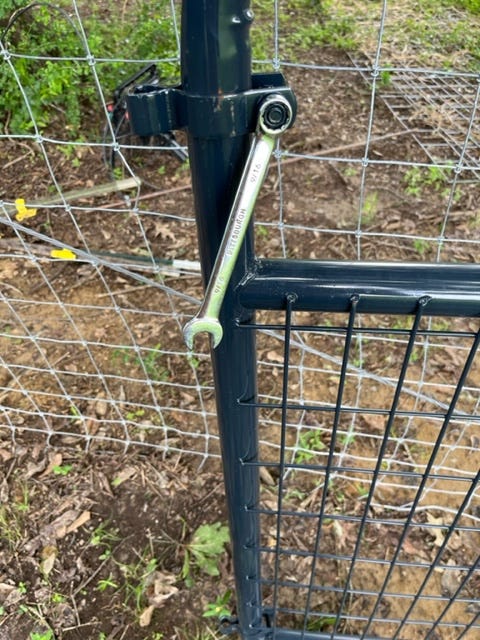
Insert the hinge pin and turn it until it starts to catch, then tighten it into the hole all the way using a wrench like this.
Set the bottom gate hinge on the bottom pin you just installed. Make another mark just above the top hinge on the wooden post. Drill hole and install hinge pin. Be sure to tighten the pins so that the top hinge pin is pointing straight down, and the bottom hinge pin is pointing up.
Loosen the top hinge on the gate with a 9/16'“ wrench, and slide it down.
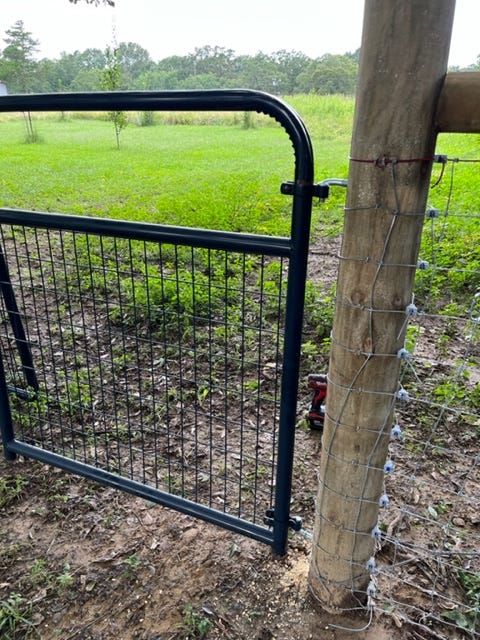
Set the bottom hinge of the gate back onto the bottom hinge pin, slide the top hinge onto the top hinge pin and tighten the nut.
You should have a swinging gate now. Open and close it to be sure it’s working correctly. Put a level on the middle of the gate to be sure it’s level. Any adjustments can be made by tightening or loosening the hinge pins.
The gates come with a chain to secure it which is pretty straight forward. You can get fancy and add a gate latch or some other mechanism to lock the gate, but we won’t cover that today.
Check Your Fences
Some last steps to take before putting animals in your new fenced area would be walking the entire fence. You need to check your t-post clips, brace posts, and staples to make sure everything is tight and secure. Check bottoms of your fencing along the entire perimeter to make sure there aren’t any gaps that may allow an animal to get out.
Important Note:
If you have any important plants or shrubs inside your new fenced area, they need to be properly protected. You can make some wire cages out of extra goat fencing and place it around your plants. Another option is to use portable electric fencing. I put my goats out in my new area this past weekend. I put fencing around most of my young fruit trees, but I left a taller pear tree because I didn’t think they would hurt it. Well, sure enough they broke the tree off at the trunk, completely rekt it!
When you’re sure your fence is completely secure, open the gate and put some animals out on your new fenced in area! This is one of the most rewarding moments on the homestead by far!
Don’t forget to make sure your animals have a good water source, hmmm, maybe we’ll be covering that soon!
Sit back and admire your hard work!
WAGMI
Famer