


Build Your Own Fence Guide - 6
Fence Brace Assemblies

We’re ready to build our brace assemblies with the posts that we set in the ground. The posts should be ready a week after you set the posts in concrete. The brace assembly building process has several steps so let’s get to it.

Fence Brace Assemblies
In order to begin working on your brace assemblies, you need the two vertical posts set in the ground spaced a little less than 8’ apart from each other, like we covered in a previous post.
What we’re trying to do here is build strong and square braces to hold your fence tight for many years. Make sure you’re vertical posts are level both ways, inline with the fence row properly, and firmly set in concrete for at least 1 week before proceeding.
In the above picture, you see the two vertical posts, a horizontal brace, and a diagonal wire attaching every thing together. This design creates a triangle with the diagonal wires which is a common engineering technique providing superior strength. The horizontal brace keeps the two posts straight vertically, and the diagonal wire tightly holds everything together.
The wire should be configured so that the high end is towards the fence line, the low end of the wire should be at the corner.

If you are building an H-brace in the middle of a fence run, you will need two wires crisscrossing the brace to support the fence going both ways. Below is a double H-brace, this may not be necessary in your situation, see previous post or you can always reference the NCRS Fence guide for more information.

We’re covering a method that I’ve found to be the easiest, and least expensive. It’s important to note, there are other methods for tightening the diagonal wires.
One popular method is to use metal gear ratcheting devices. I’ve used these before and they work, but I don’t think they are much better than the method I’m showing you today.
If you like using another method for tightening your brace wires, please go ahead. I’ll show you step by step how to build these below👇
TL;DR - Here is a quick overview of the brace building process (Link)
Bowtiedfarmer.com
Be sure to check out the new website with easier ordering features! I’ve got fresh honey from this summer ready to ship to your door. I even have jars with fresh honey comb inside the jar!

Getting Started
Some important things to keep in mind when assembling the braces:
A trailer helps in the process to put all of your tools and materials on and move around to the different brace locations.
The horizontal post must be the correct length so that everything stays square, not too short, and not too long. (an 1/8” too long is good)
The vertical posts need to stay nice and straight/level when tightening the wire so make sure your concrete is fully cured, or your posts are tightly tamped with back fill.

See this horribly photoshopped picture to show you what you should be starting out with. (I forgot to take a picture of the posts without the horizontal brace.)
Step by step goat fence brace assembly process
Measure one foot down from the top of the shortest vertical post and put a mark on the inside of the post (where the horizontal post will go)
measure the distance between the two vertical posts at the height level of the mark you made.
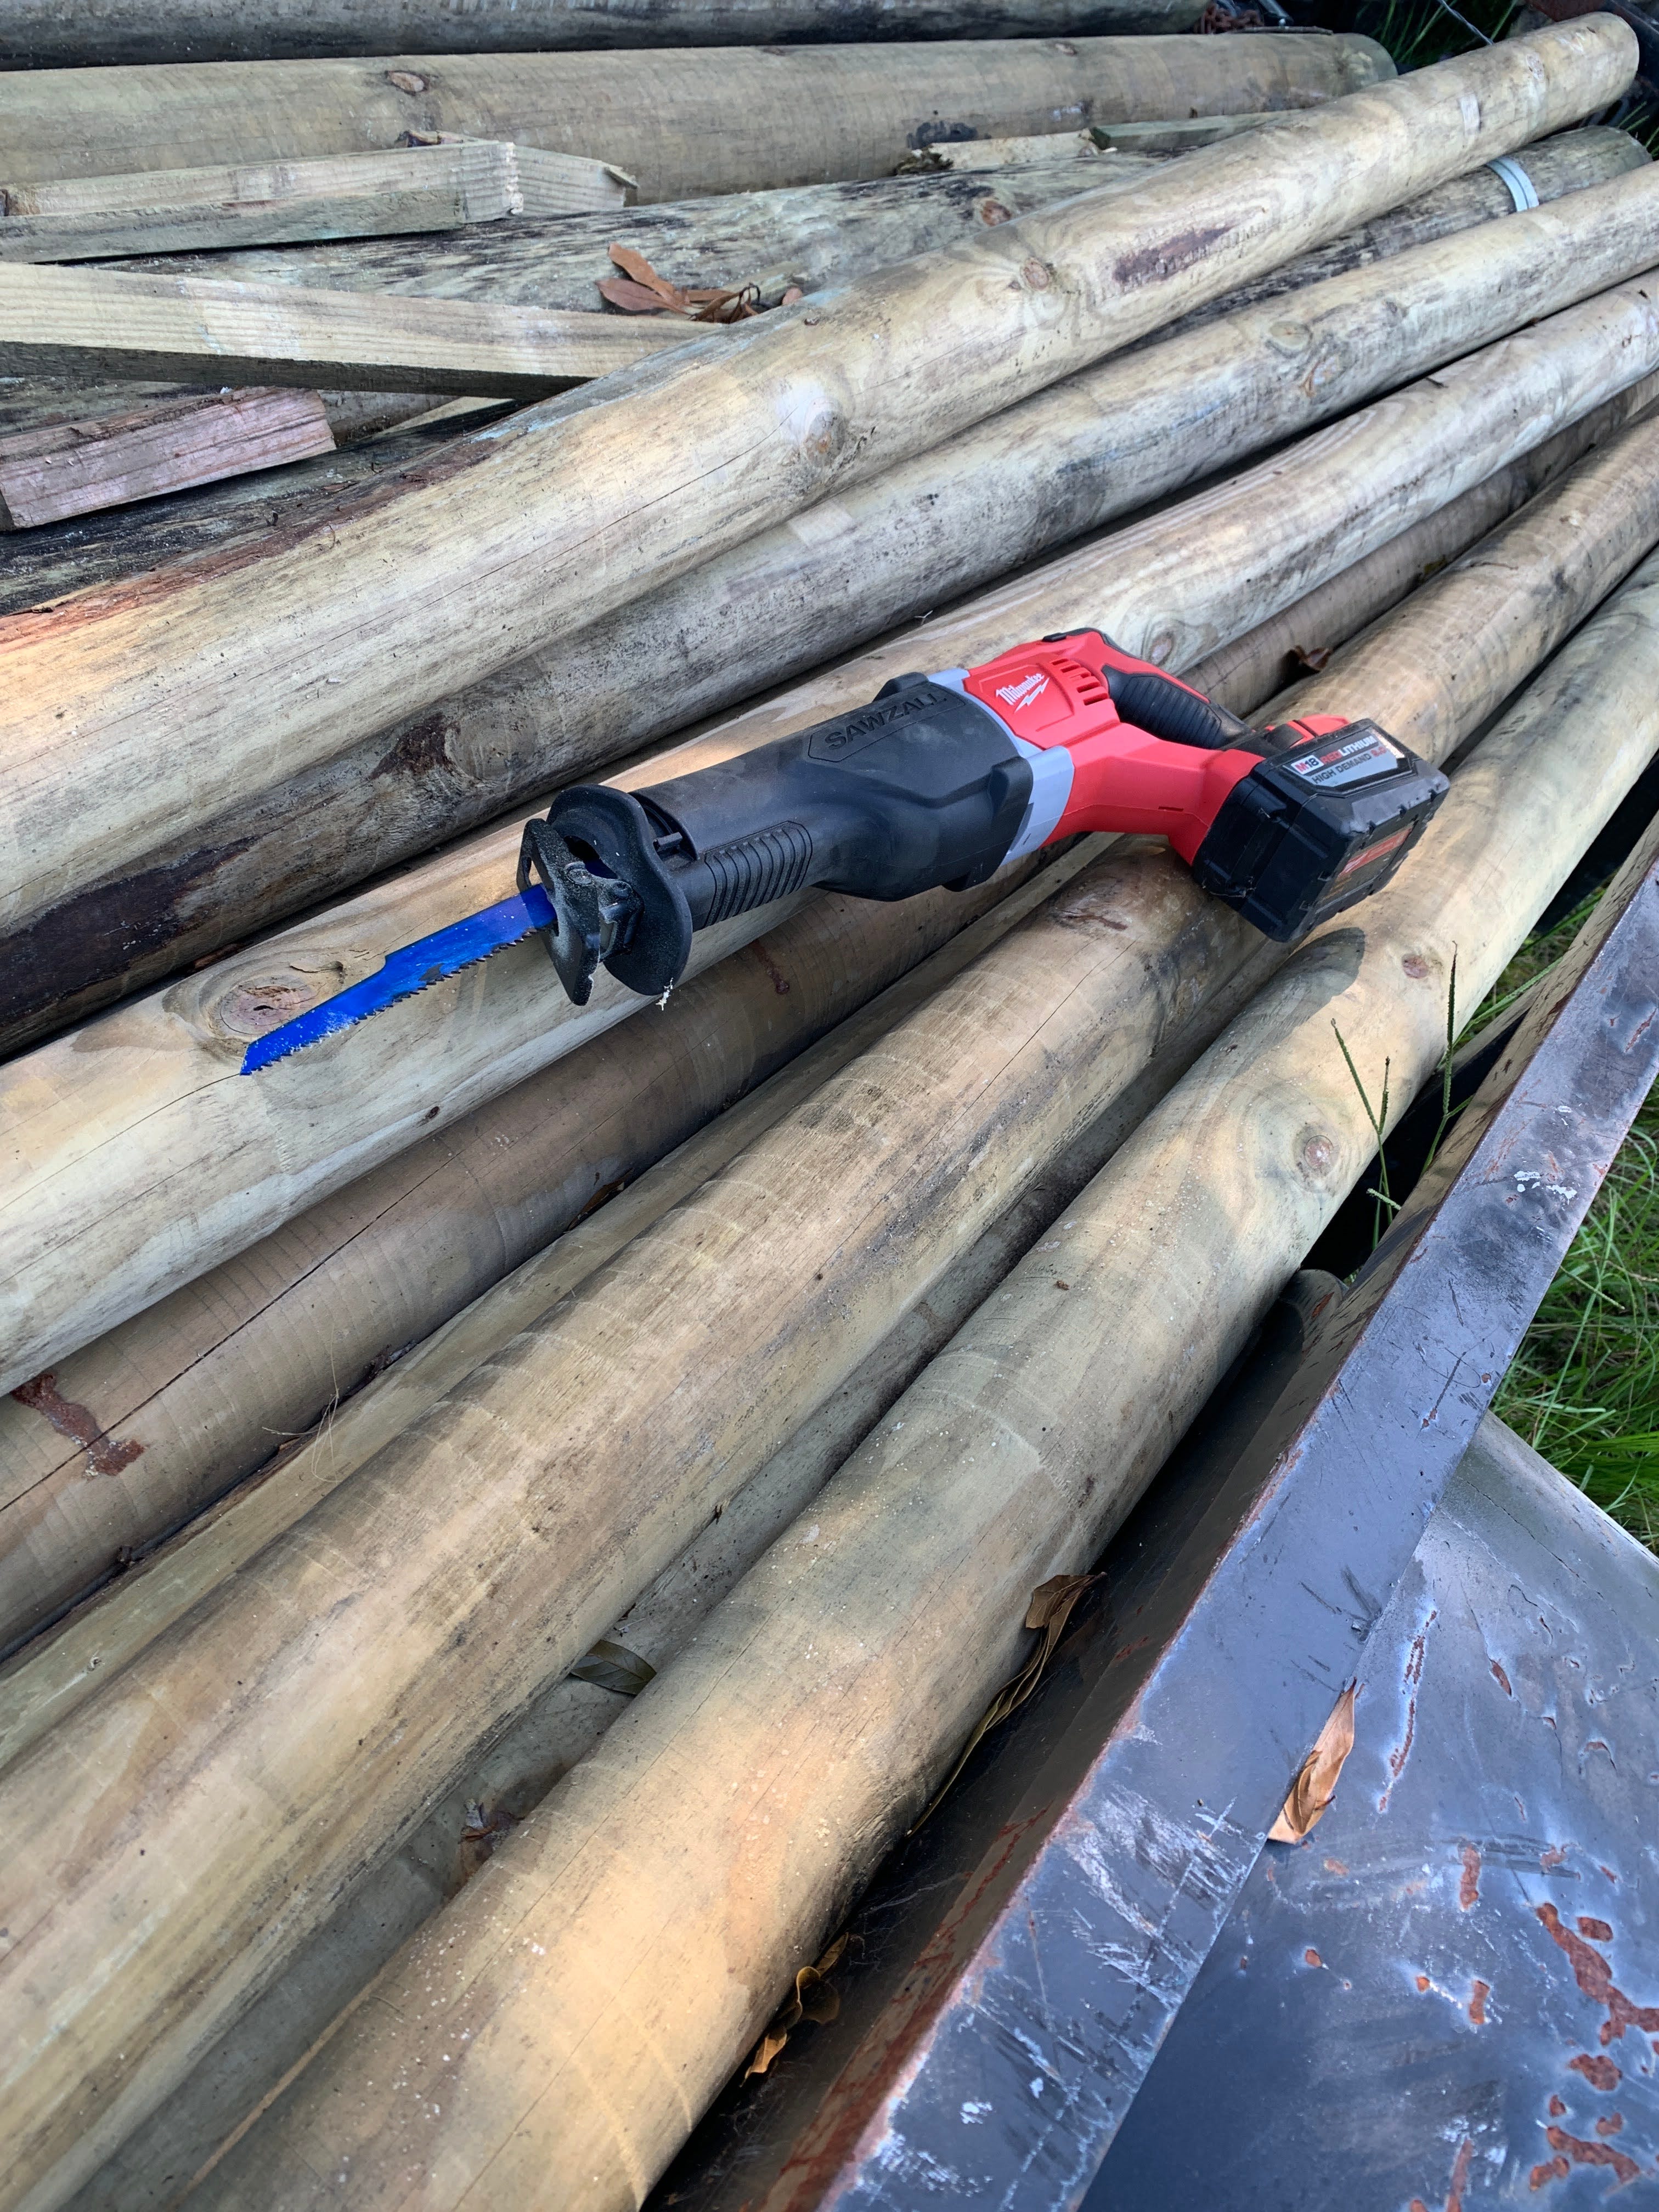
Measure the horizontal brace post you are going to cut and make a mark for the correct measurement.
Take sawzall and cut the horizontal brace post, it’s ok to be 1/16 long, but you don’t want it short
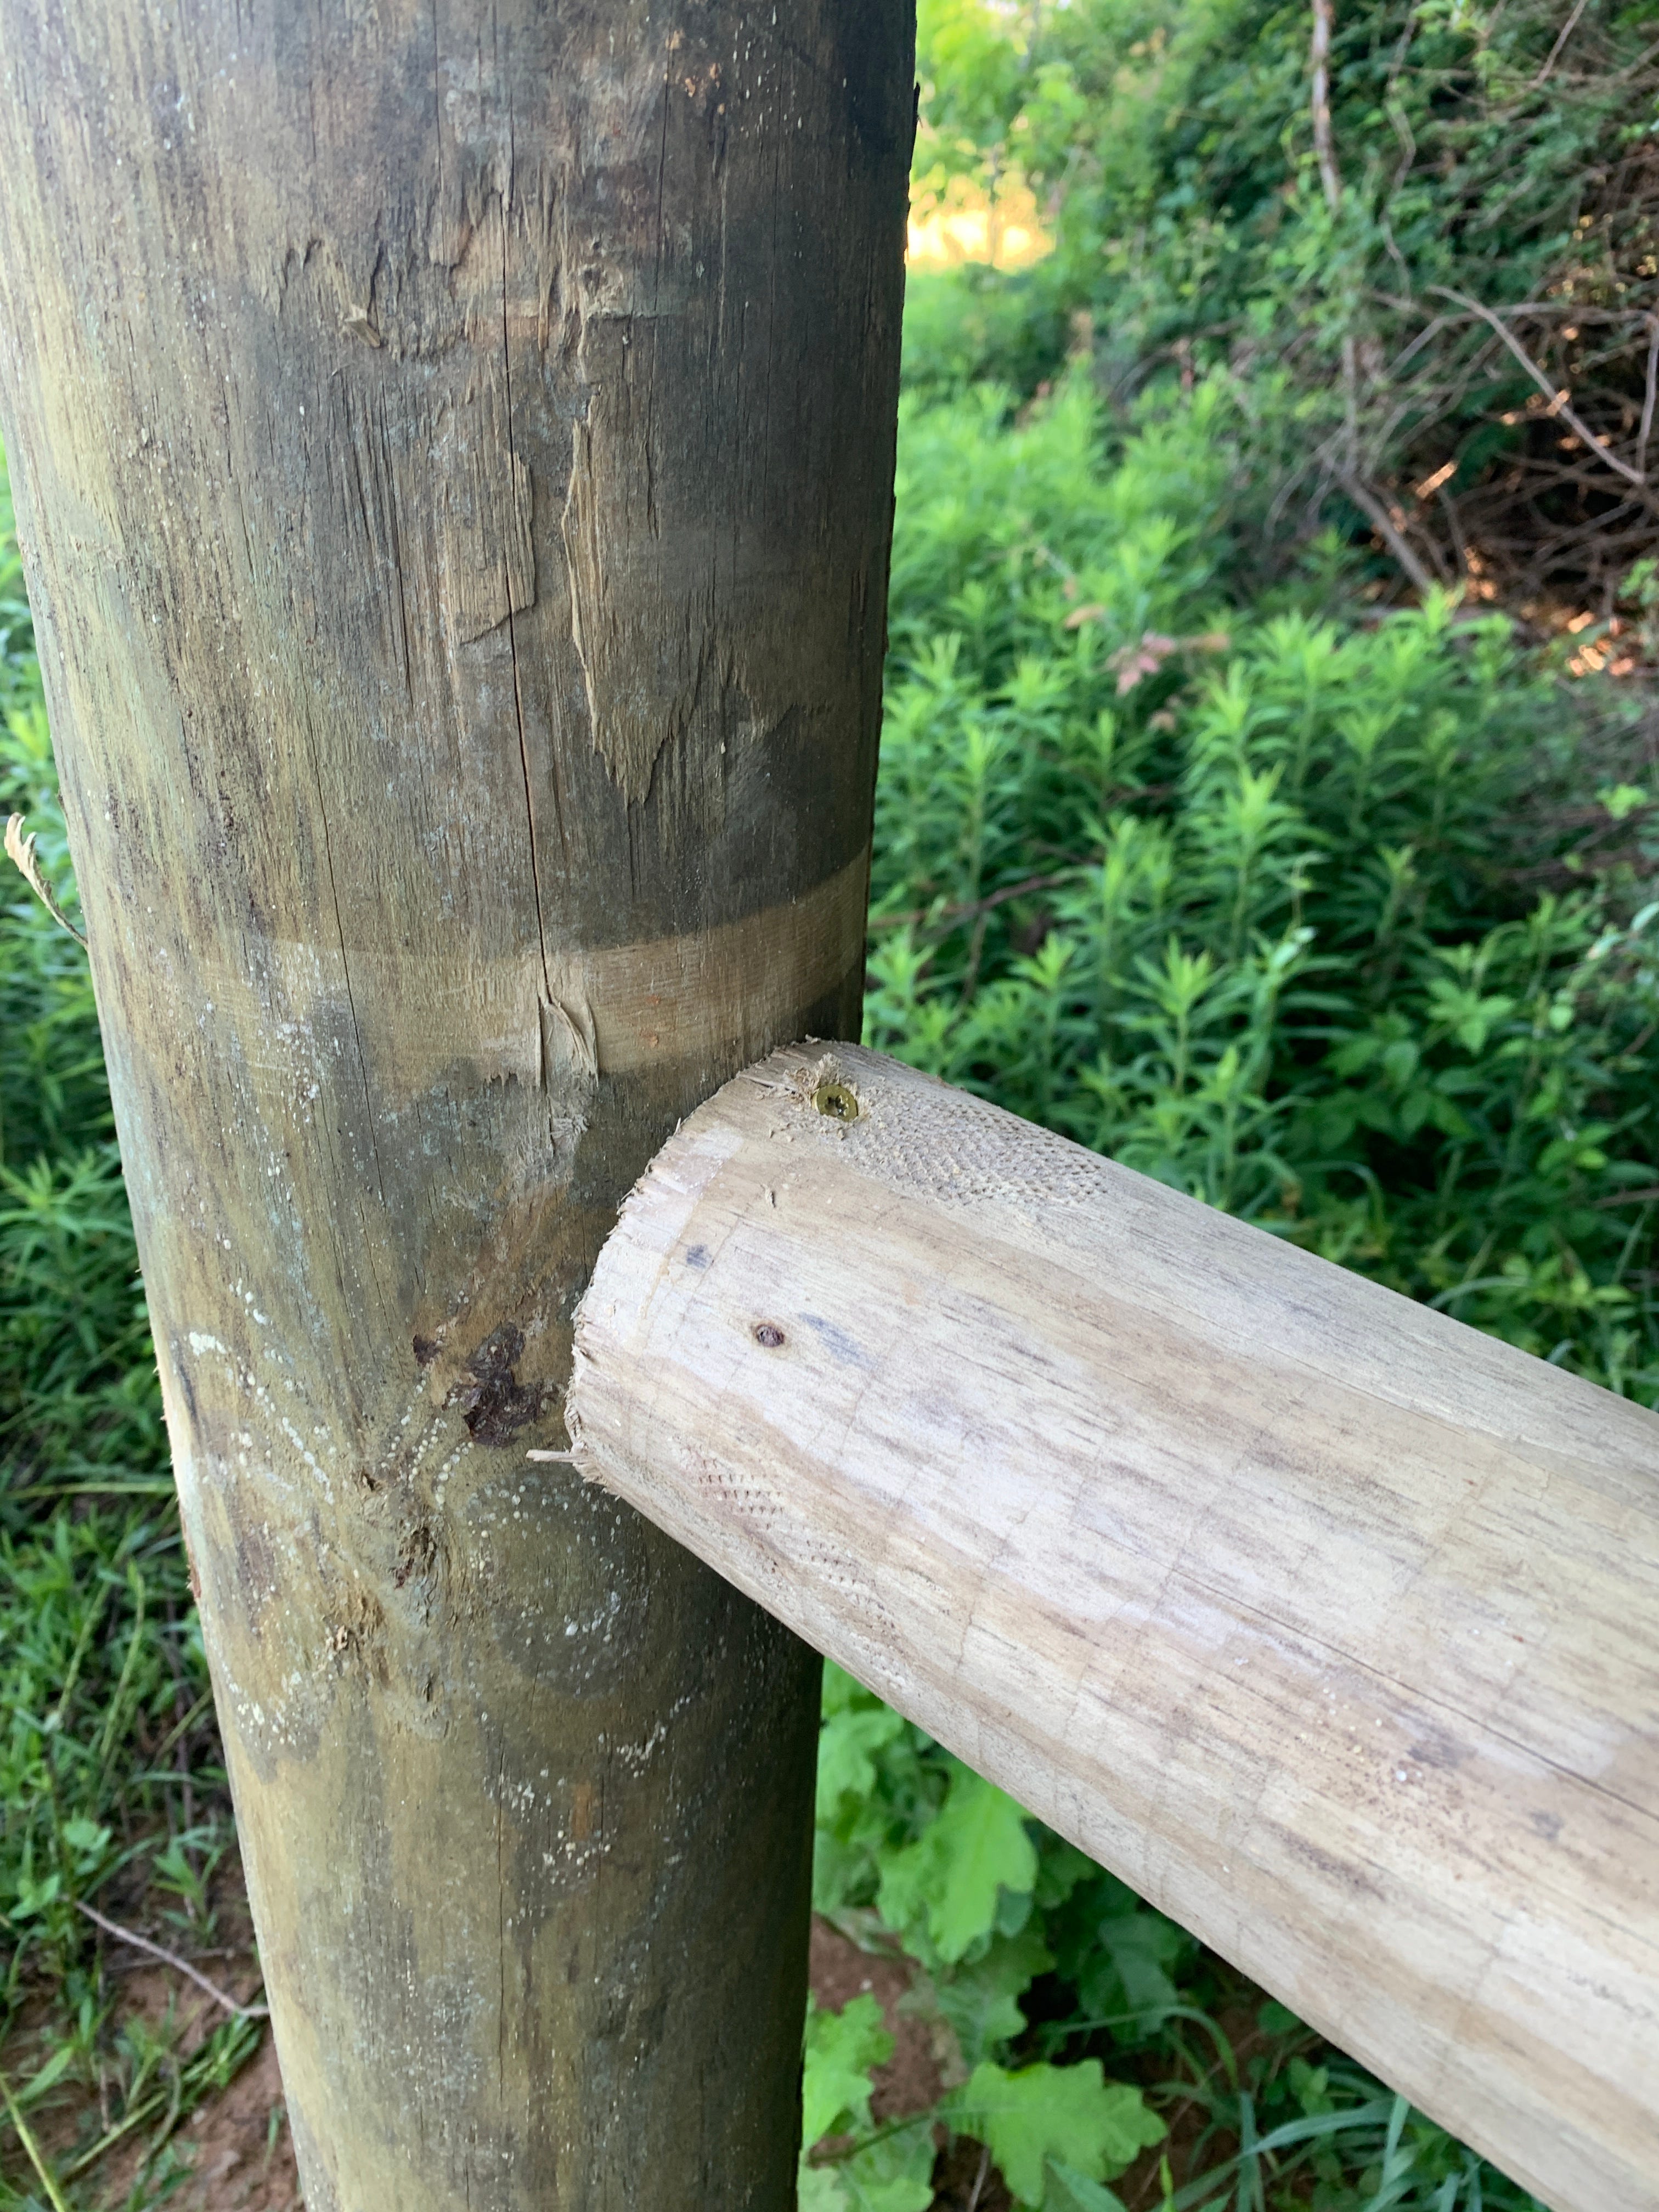
Take the brace post you just cut and set between the two vertical posts, tap it into place with a hammer if needed. If you cut your brace post correctly, it should fit snug between the two posts. You want the post directly in the center of the vertical posts, get one end on the mark you made on the vertical post.
Place 1 screw into the brace post to secure it on one of the vertical posts, at the correct height you marked.
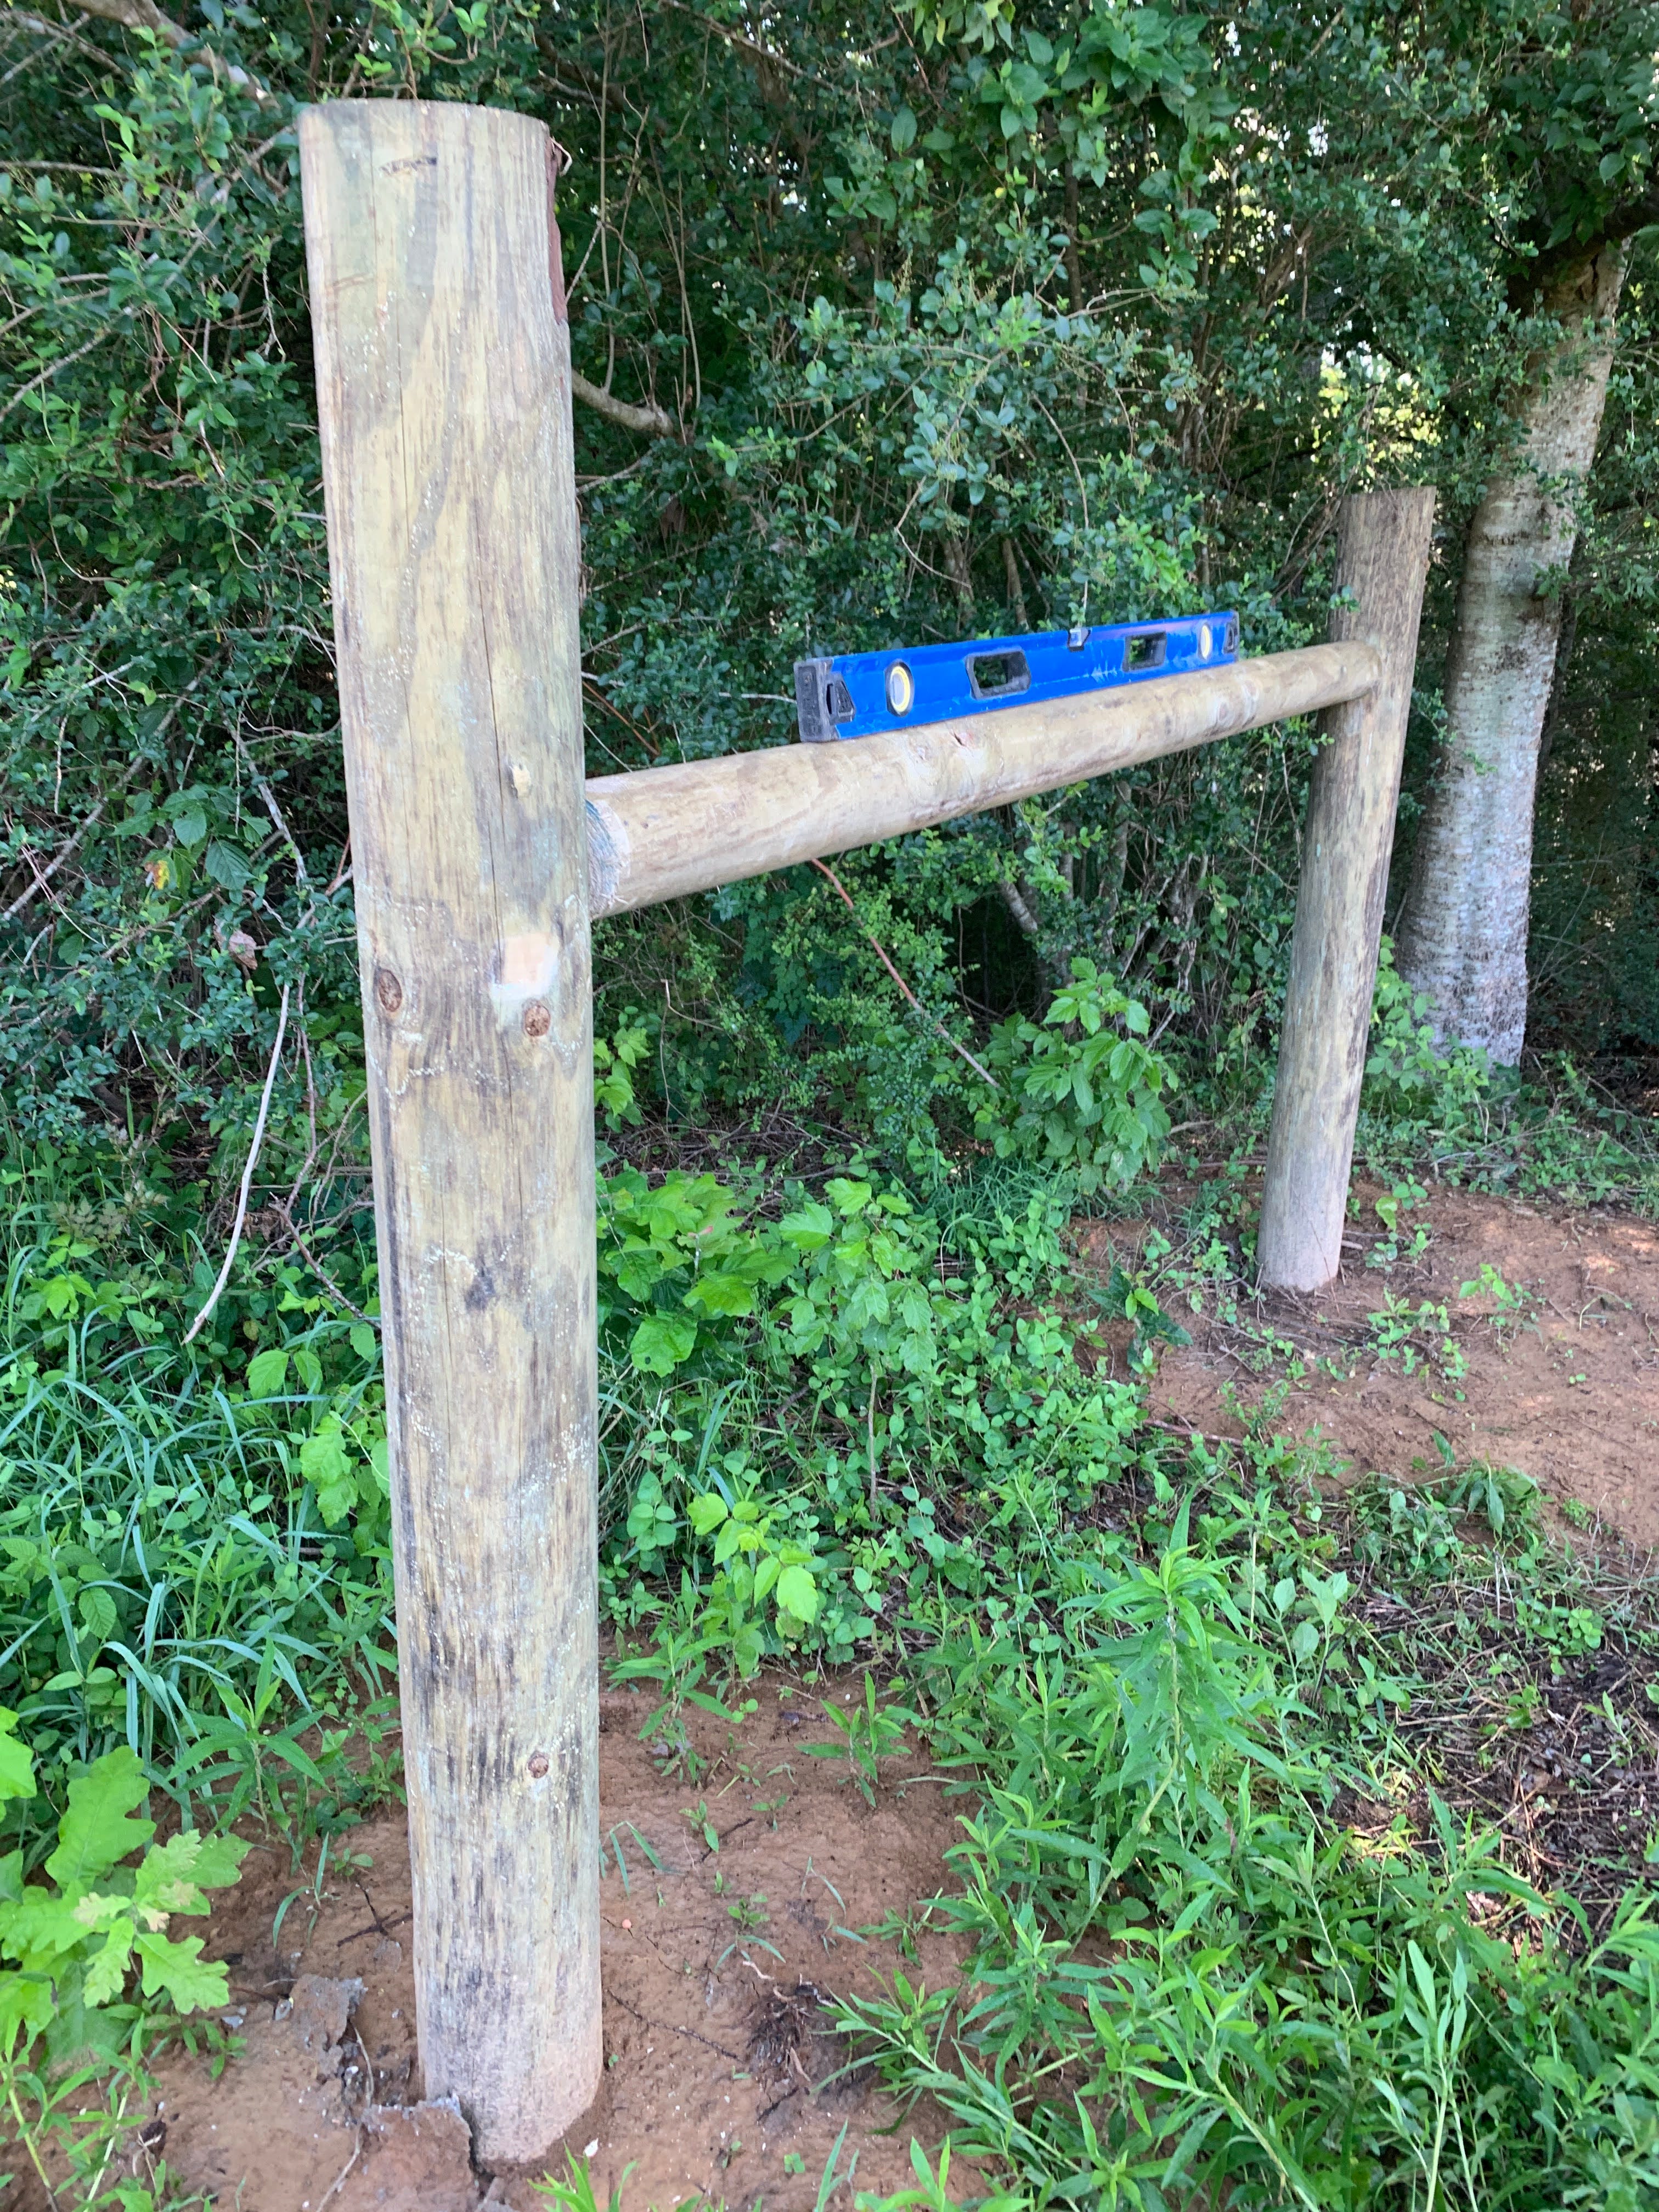
Put 4’ level on horizontal brace post and put another screw in the other end with the brace perfectly level.

Take your drill with the 3/8” x 12” drill bit and drill a horizontal hole through the vertical column, making sure the drill bit is entering the horizontal brace post directly in the center. Drill all the way into the horizontal brace post as far as you can with the drill bit.

Do this on both sides of the brace assembly.
Take a hammer and drive the 3/8” x 10” brace pins into the hole on both sides.
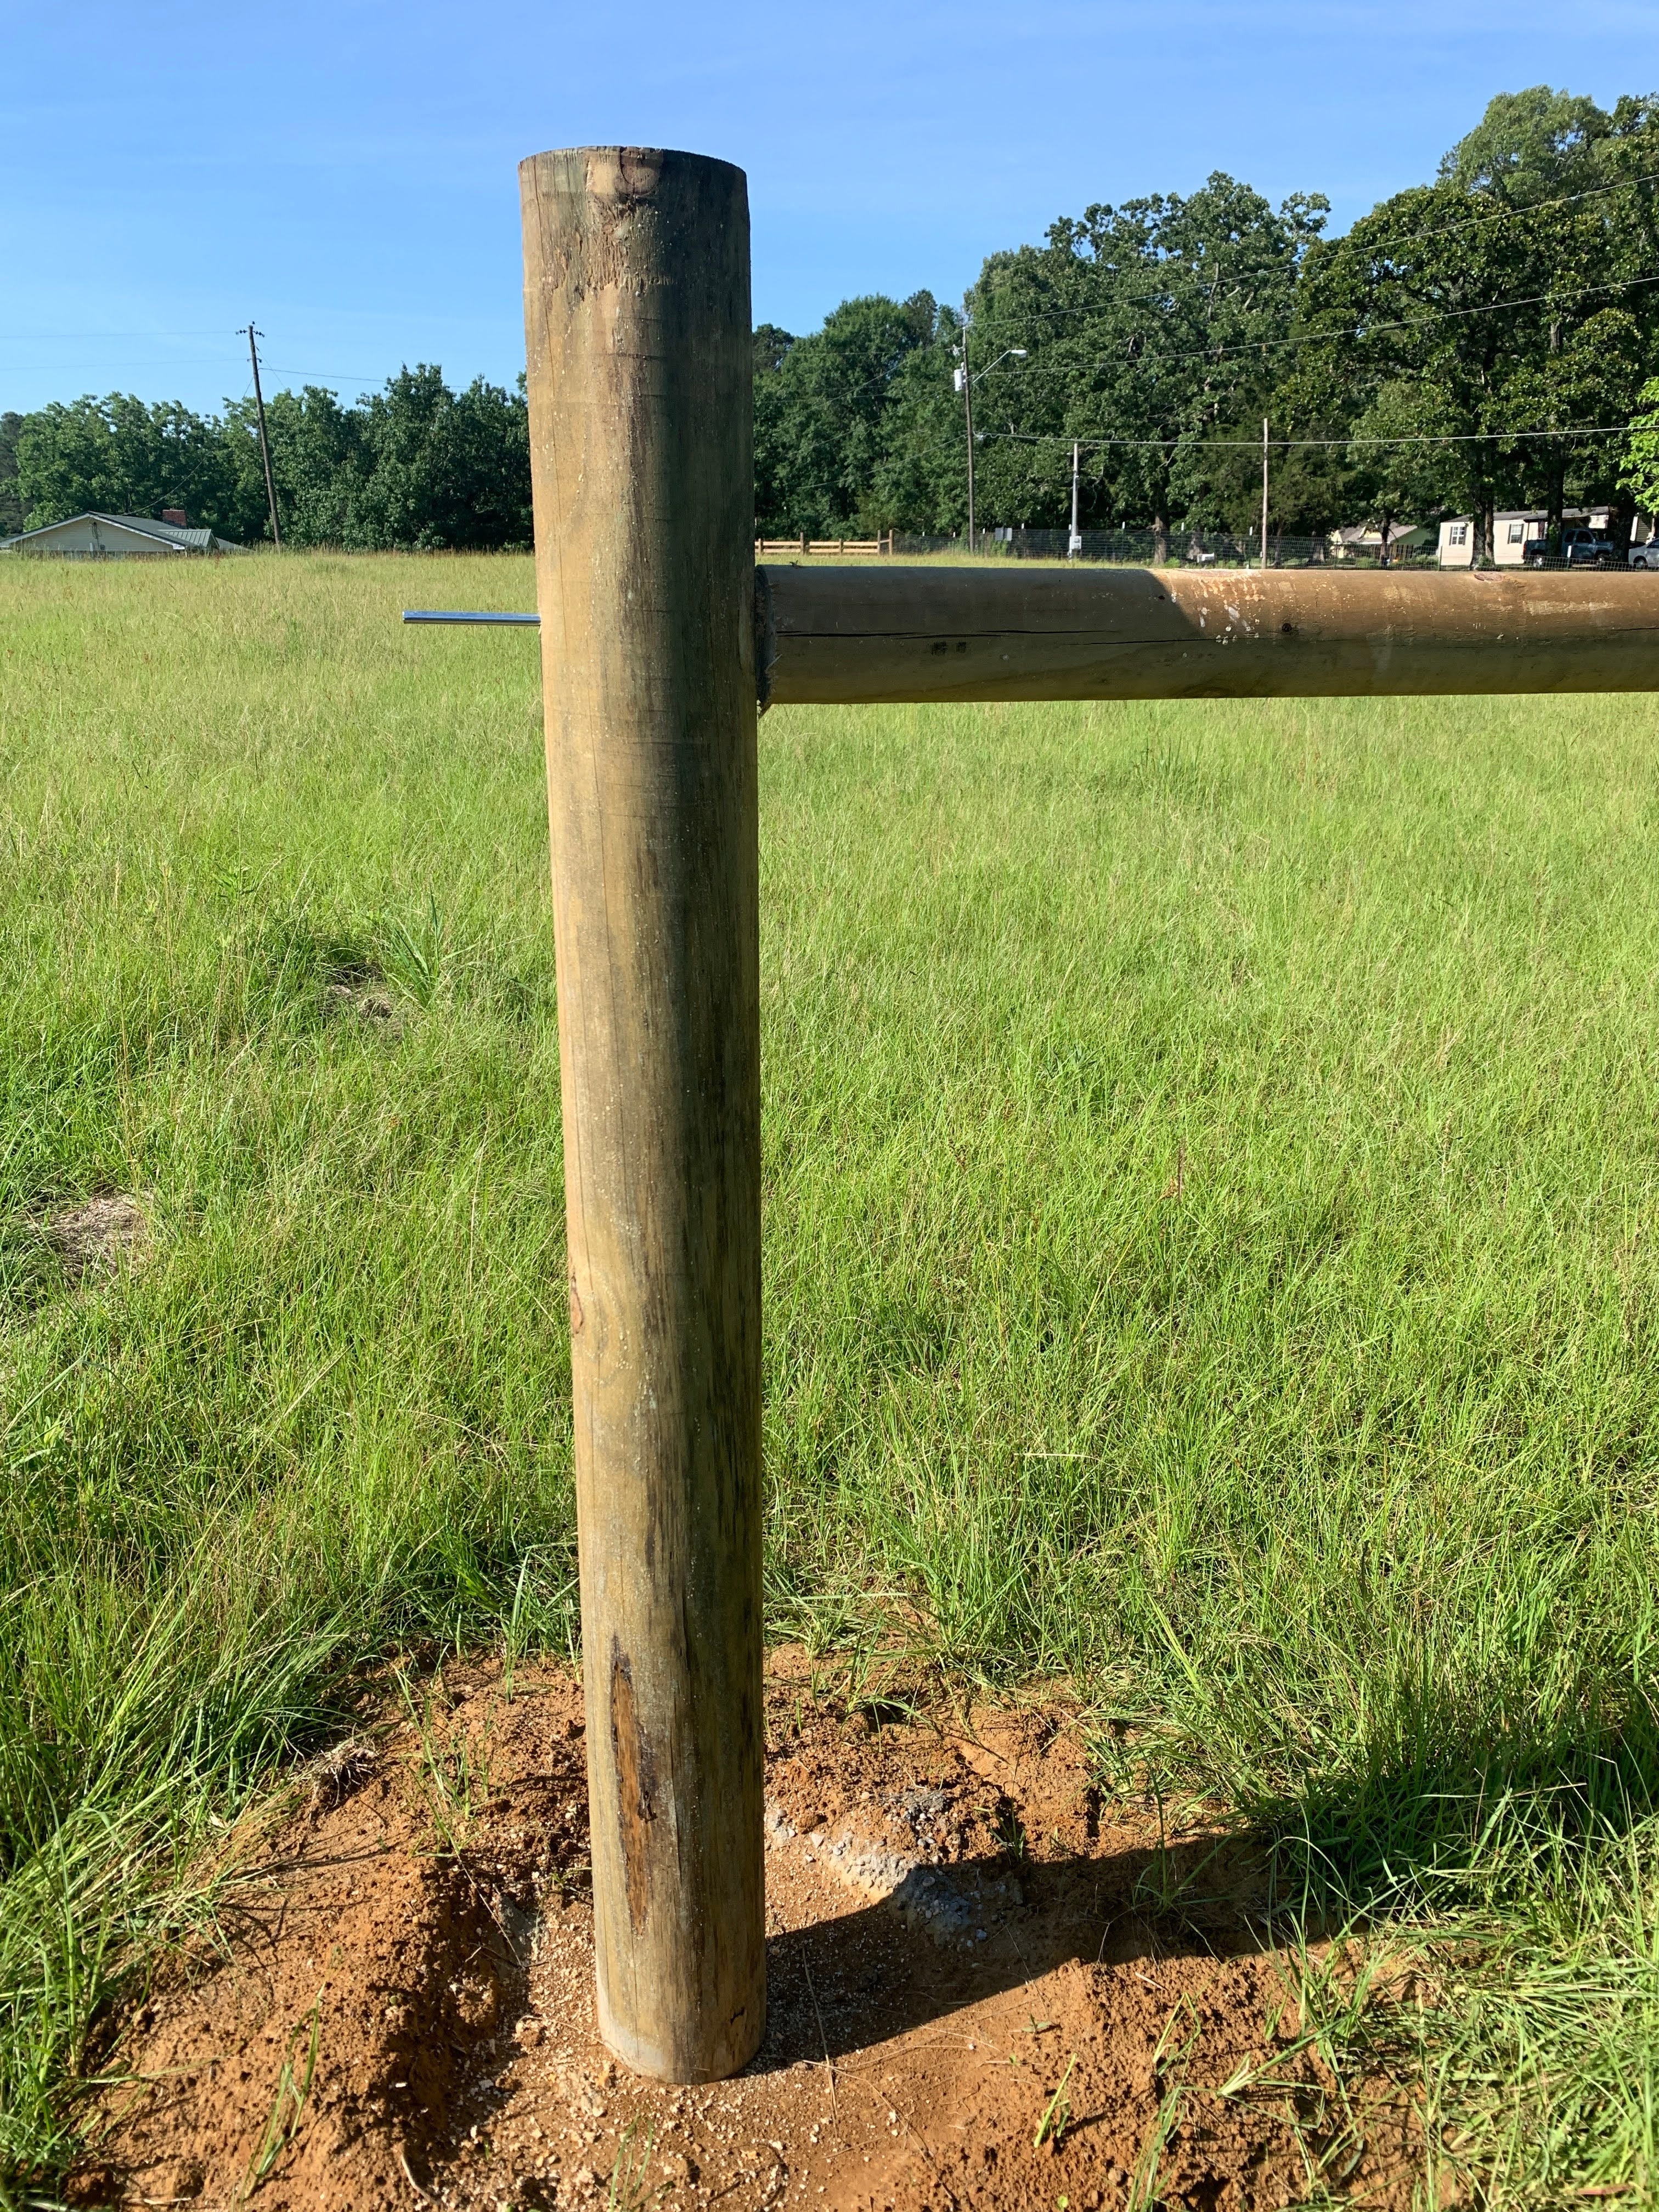
Now you’re ready for the diagonal wire.
The high end of the wire needs to be toward the long run of fence. The low end should be at the corner.
On the outside of the vertical post, on the side in line with the fence line, place a 1-1/2” galvanized staple at the height of the horizontal post on the high side, only drive it in half way.
Place another one at the bottom of the corner post about 3-4” from the ground
Now take the 12.5 gauge wire and run it through the staples, you want 2 full wraps
Cut the wire leaving you plenty of extra so that you can attach the two ends together..
Pull the wire as tight as you can and twist it back on itself to secure it. Try to make this twisted part as high up off the ground as you can. You also want this twisted connection on the outside of the posts, where the fence is so that animals don’t get caught or scratched on it.
Now take a large, heavy duty screw driver and put it in the middle of the brace assembly and twist the wires onto themselves until the wire is fairly tight.
Make sure you don’t over tighten, or the wire will snap and you have to do it over again. When you’re done the wire will be nice and tight and the screw driver leaves a nice circle to tighten later if needed.

You should end up with something like this. Now we’re ready to put some T-posts in and pull some wire.
WAGMI
Farmer