

GROW YOUR OWN FOOD GUIDE - 16
GROW YOUR OWN FOOD GUIDE - 16
In-Ground Planting

Welcome Back
Today we’re talking about planting seeds in the ground. Whether your planting a huge garden or just a few rows, this guide will help you get an idea of what to do out there.
Farmer’s Store
Please check out my Farm Store if you haven’t already, Getchu Some Honey!
High Mowing Organic Seeds Affiliate Link
Affiliate partner with a huge selection of organic seeds.
Nature Hills Affiliate Link
Check out this affiliate link for a wide selection of trees for your property.
Soil Prep
So planting in the ground is a little more involved. Much of the work depends on on how your are going to prepare your soil. Hopefully you were able to put some tarp or material down a month ago which should have killed most of the grass and left you with some soft moist soil to work with.
The goal is to get your soil worked up into a nice fine crumbly texture about 6-8” deep if possible. If you are using a rototiller, wait until the soil is dry enough before you till. To check if your soil is dry enough, dig down about 6-8” and get a small chunk of dirt in your hand, if you can smash it into a ball, or blob and it sticks together, your soil is not dry enough. You want it to crumble in your hand when you try to smash it into a ball.
If you are using the double dig method, a turning fork, or a small walk behind tiller you have your work cut out for you, but there’s nothing like a good night’s sleep after working your ass off in the back yard! Some people are able to use a compact tractor, you can use a plow, a disc, or tiller attachment and the work is much easier. These tractor attachments allow you to till up soil even with some grass on top and get some decent soil to plant in a few hours, however, it’s still a good idea to kill the grass before hand with a tarp if possible.
When you’re done prepping the soil, you want it to look something like this.
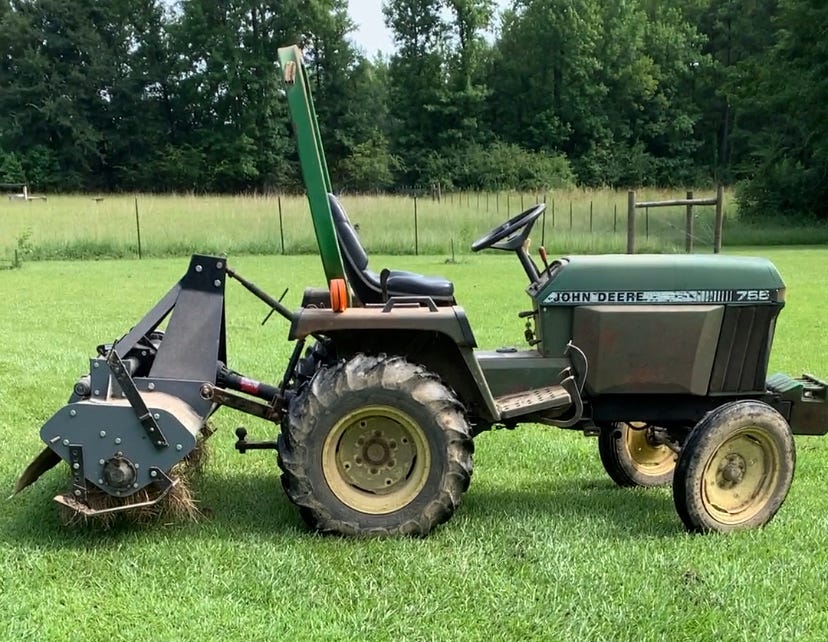
It took me about 30 minutes to till up my garden area. I had quite a bit of grass in there so it wasn’t perfect, but it’s all good! I use an old John Deer compact tractor with a 5 foot wide tiller attachment.
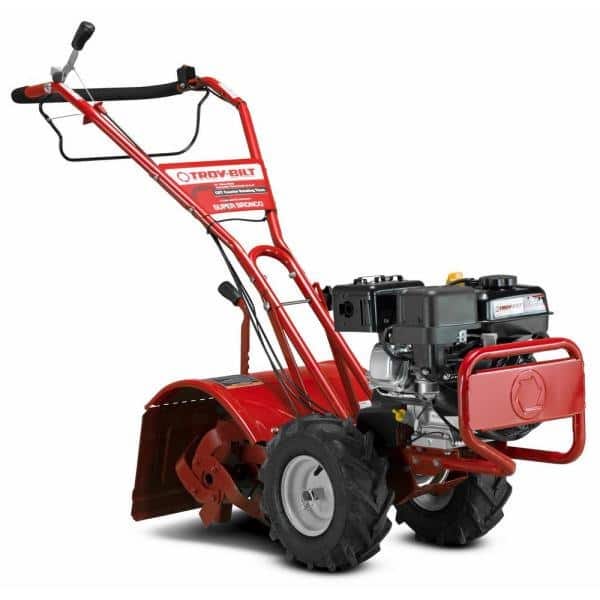
If you don’t have or want a tractor, you can use a walk behind tiller. These can be rented for a day or two at a reasonable cost. If you have options you want a bigger one with bigger wheels in the front and the tines in the back like this.
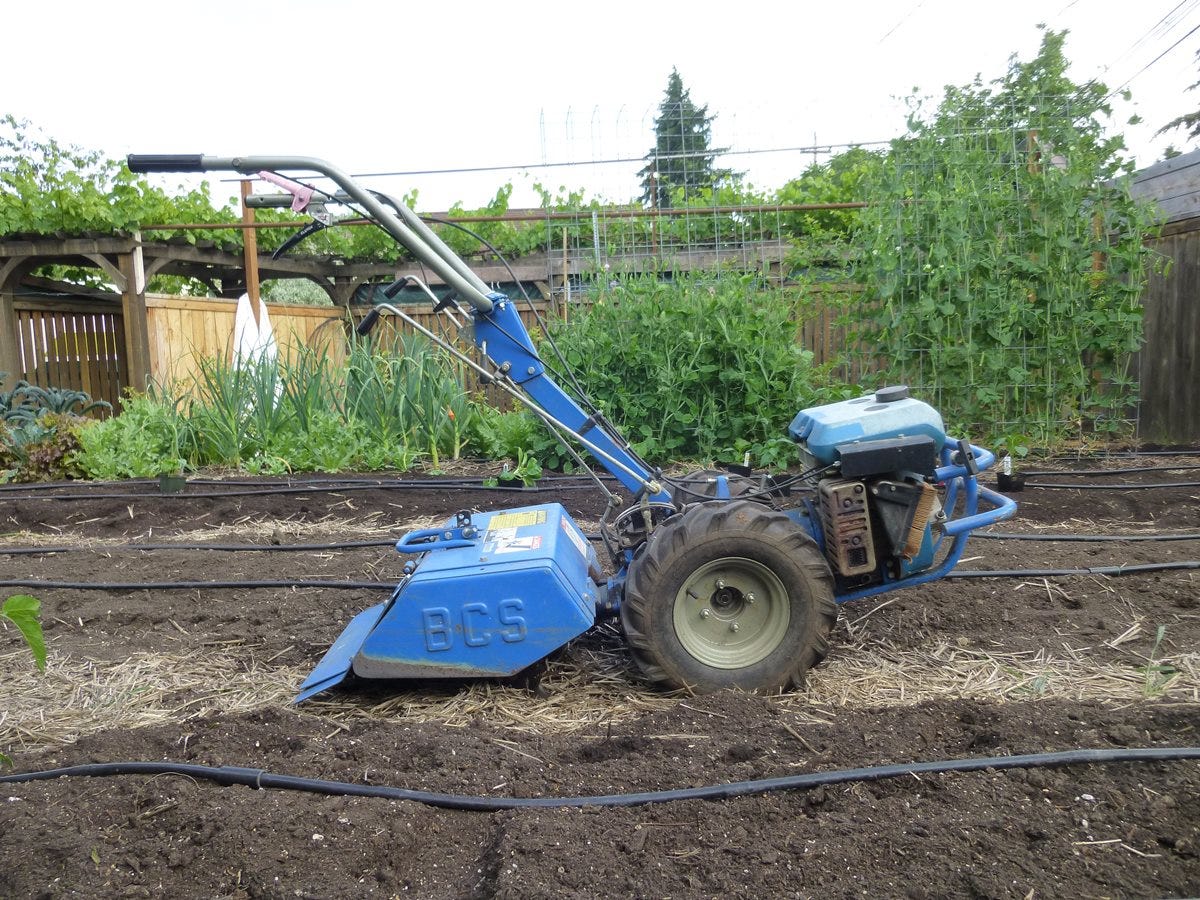
There are nice small gardening machines you can buy that have plow and row hipper attachments. Here is a really nice tiller with various attachments. It’s made by BCS.
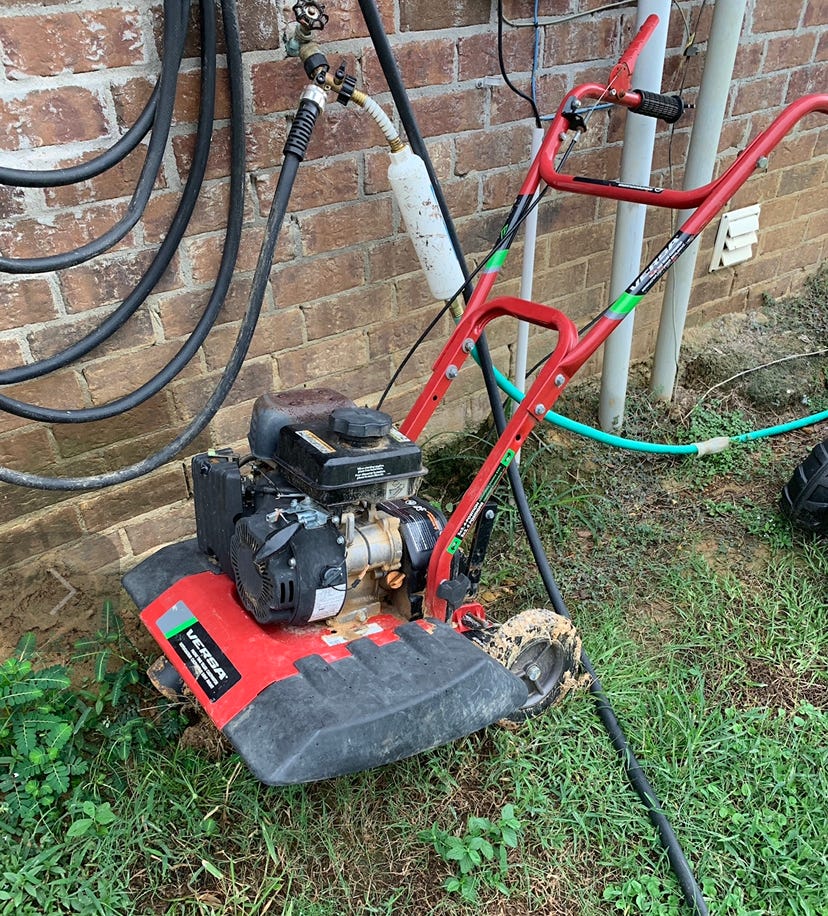
There are smaller tiller options out there that you can use to get the job done but they are more labor intensive. Twas Warned.
Drawing Rows by Hand
Once your entire garden area is tilled up about 6-8 inches deep, you are ready to draw some rows. If you are not interested in using machines, there are hand tools that help you draw rows. One is called wheel plow and I would highly recommend buying one of these if you are serious about planting row style gardens, it’s a good investment. This tool will allow you to quickly draw nice even rows by hand, and there are several different attachments you can use for weed control.
You can also buy an even simpler tool to draw rows called a row maker. Both of these tools are available to buy from a company called Hoss Tools which I am an affiliate for. They have all kinds of hand tools, garden supplies, seeds, and more to help you in the garden. Their website also has a wealth of knowledge and guides. Please use this link if you decide to buy something, I really appreciate it! Hoss Tools (Affiliate)
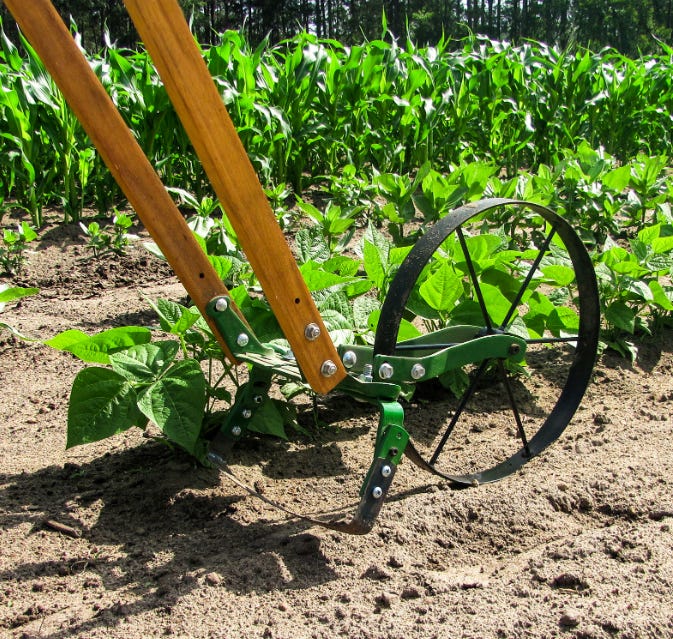
With your soil nice and fluffy, you will drag this row rake along the top of the soil to create your rows. Using the wheel plow tool, I would measure out where you want each row and put a stake in the ground on each end of the row. This way when you are walking the wheel plow you have a guide to make sure your rows are straight.
It’s important to make straight rows, so people will think you know what you’re doing lol! If you draw your rows a little crooked don’t worry too much about it.
Note: You can always use a hoe and scrape the dirt up into a hill if you don’t want to buy any tools. I’ve made many rows using just a hoe, and it’s not too bad. Nothing wrong with doing things the old fashioned way!
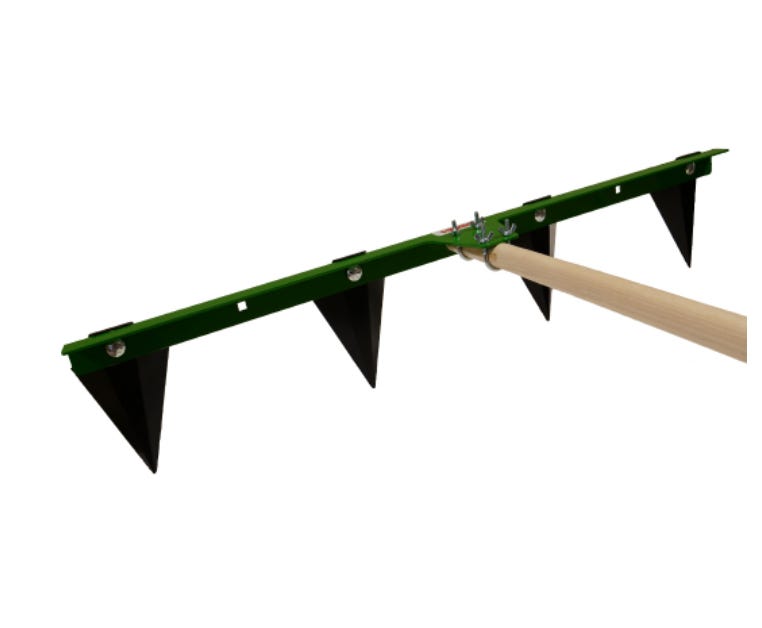
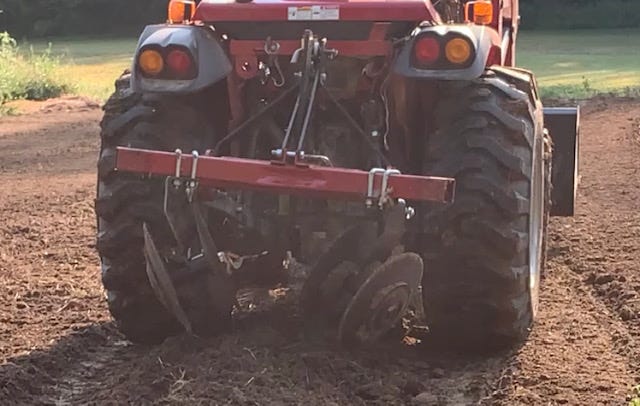
Drawing Rows with a Tractor
This is the best way to draw rows, if you are able to get your hands on a small tractor. There is an attachment called a “row hipper” that you drag behind the tractor and the dirt is pushed into hills in a row.
When drawing rows with a tractor or by hand, there are a few options. You can put your rows close together making a pass with your tool or machine right next to the first row. Or you can leave a wide space in between the rows.
Both options have pros and cons. Closely spaced rows allow you to fit more plants in the garden. Leaving a wide space allows you to come back in between the rows with your tiller and clean the weeds easily.
When drawing rows with a tractor on closely spaced rows you draw the first row and then follow the tire rut right next to the first row back and forth all the way across your garden.
For wide empty space, you draw the first row and skip a tractor length on the next row. So you’ll make your first row, then back the tractor down the next row but do not drop the attachment, then go to the next row and drag a row.
This will leave you with a full tractor width between rows. You can then use this space to plant carrots, or any other crop that you do not want to plant in a row. You could put some cucurbits in the center of this empty row so they’ll have plenty of room.
Or you could simply leave it empty. When you leave it empty, you have plenty of room to come back with your tiller and use it as weed control in between your rows. Here is an example of leaving a wide space between rows.
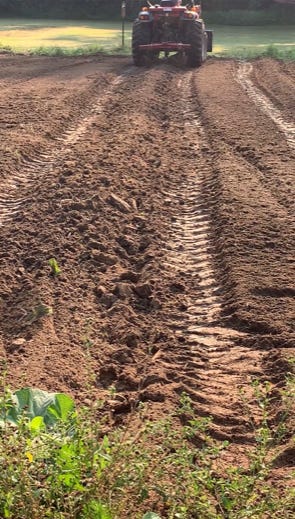
When you’re drawing rows with a tractor, make sure your very first pass is perfectly straight. If it’s straight then the other rows will be straight since all you’re doing is following the tractor rut from the previous row pass. You can see in the picture above at the very end of my row I turned a little bit on the first pass, but that’s ok.
Planting Rows
Now you got your rows drawn up nice so the next step is planting. It’s pretty straight forward, but it’s a big job, I hope you’re not scared to get your hands dirty! The idea is obviously to get seeds on the top of the rows at the proper spacing. There are two ways to do this, by hand or with a planter.
Yesterday, I used both methods. I used a planter to sow all of my bean seeds. You fill up the hopper with seeds and roll it over the top of the row and it spaces them fairly accurate and makes things alot less back breaking. Then you just come back with a hoe to cover the seeds that are still exposed with dirt and stick a plant marker in at the end of the row.


Planting seeds by hand is pretty straight forward. I just get a handful of seeds and poke them down into the dirt on top of the rows. I just eyeball the spacing about 18” or so. Same thing with seedlings, you just dig a small hole and pop them into the dirt at the proper spacing. There’s no need to make it any more complicated in my opinion.
One thing that makes things a little bit more involved is writing the plant markers and labeling all of the different plants. It’s really nice if you have everything labeled, but it’s not the end of the world if you miss some.
Now you come back and water everything thoroughly so that the seeds will begin to germinate as soon as possible. If you planted seedlings you need to water them daily for the first several days.
Fencing
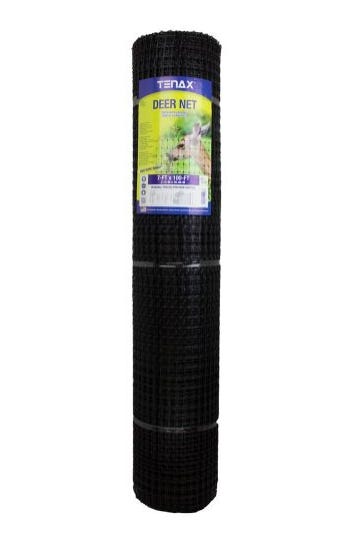
Last thing to do for your garden, is put up a fence or barrier to keep animals out. I have to do this to keep my chickens out or they will scratch all the seeds and small plants up. What I do is put t posts around the garden every 10 feet and come back with some of this black netting and zip tie it to the posts. It’s not a perfect fence, but it’s easy and cheap. It’s also easy to tear down and put away at the end of the season. Whatever you do, you will want to put a fence up around your garden.


The plastic netting that I use looks like this and you can buy it at tractor supply or most hardware stores.
Conlusion:
So now you’ve got your gardens planted! I’m so proud of you! Just sit back and relax for a couple of days, but make sure you keep it watered. You’ll notice small sprouts popping up all over, but alot of them are not what you planted, they are weeds!
You’ll want to stay on top of those before they get out of hand. We’ll cover garden maintenance next week.Don’t be afraid to come up with your own method of weed control that works for you.
We’ll see you next week!
WAGMI
Farmer