You ever get tired of paying over $15 for a grocery store chicken that tastes like drywall and regret?
I was too—until I found a glitch.
These days, I raise birds that taste better, live better, and cost me damn near nothing. No organic sticker needed. No big fancy infrastructure. Just a little hustle, a little know-how, and a buddy in the right business.
Today I’ll walk you through it.
But this isn’t just about chicken.
I started raising my own chicken because I’m tired of eating bleach-washed meat—even the so-called organic stuff. It’s a damn shame we have to do it ourselves just to get clean food, but that’s where we are now. Unfortunately, the supply chains can’t be trusted, and the big labels don’t mean what they used to.
So around here, everything we do—whether it’s food, animal feed, skincare, whatever—we’re always trying to find our own source, grow our own, or make it ourselves. Because it’s about one thing: cutting off the global corps and making clean products that actually work.
We started by making it for ourselves. Now we offer it to others who are done playing the grocery store guessing game.
There’s more at the end of this story—and it’s not just about meat.
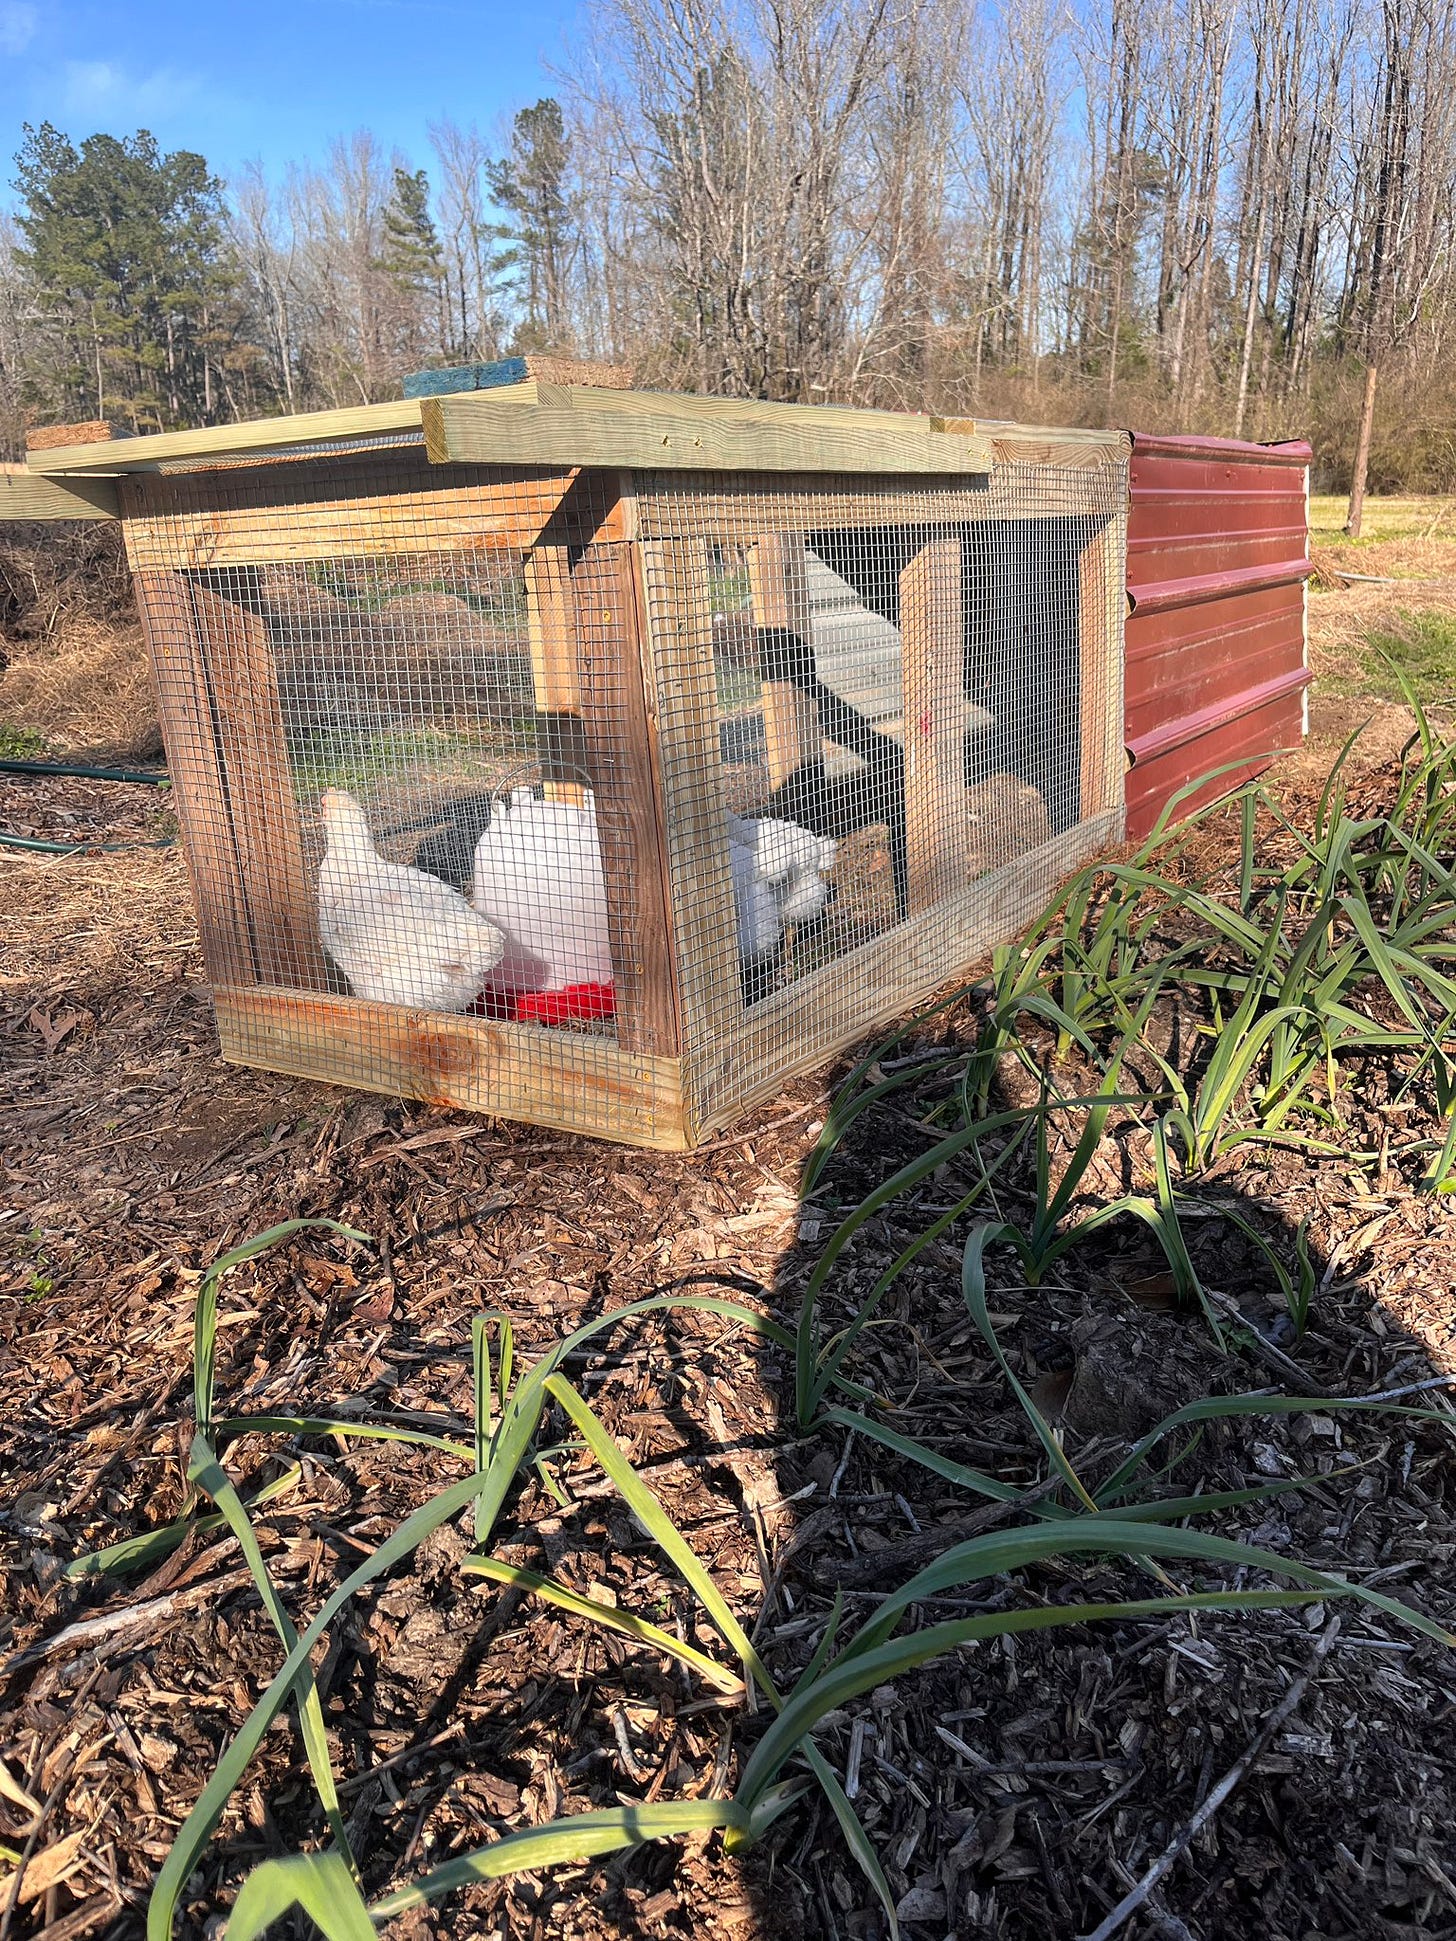
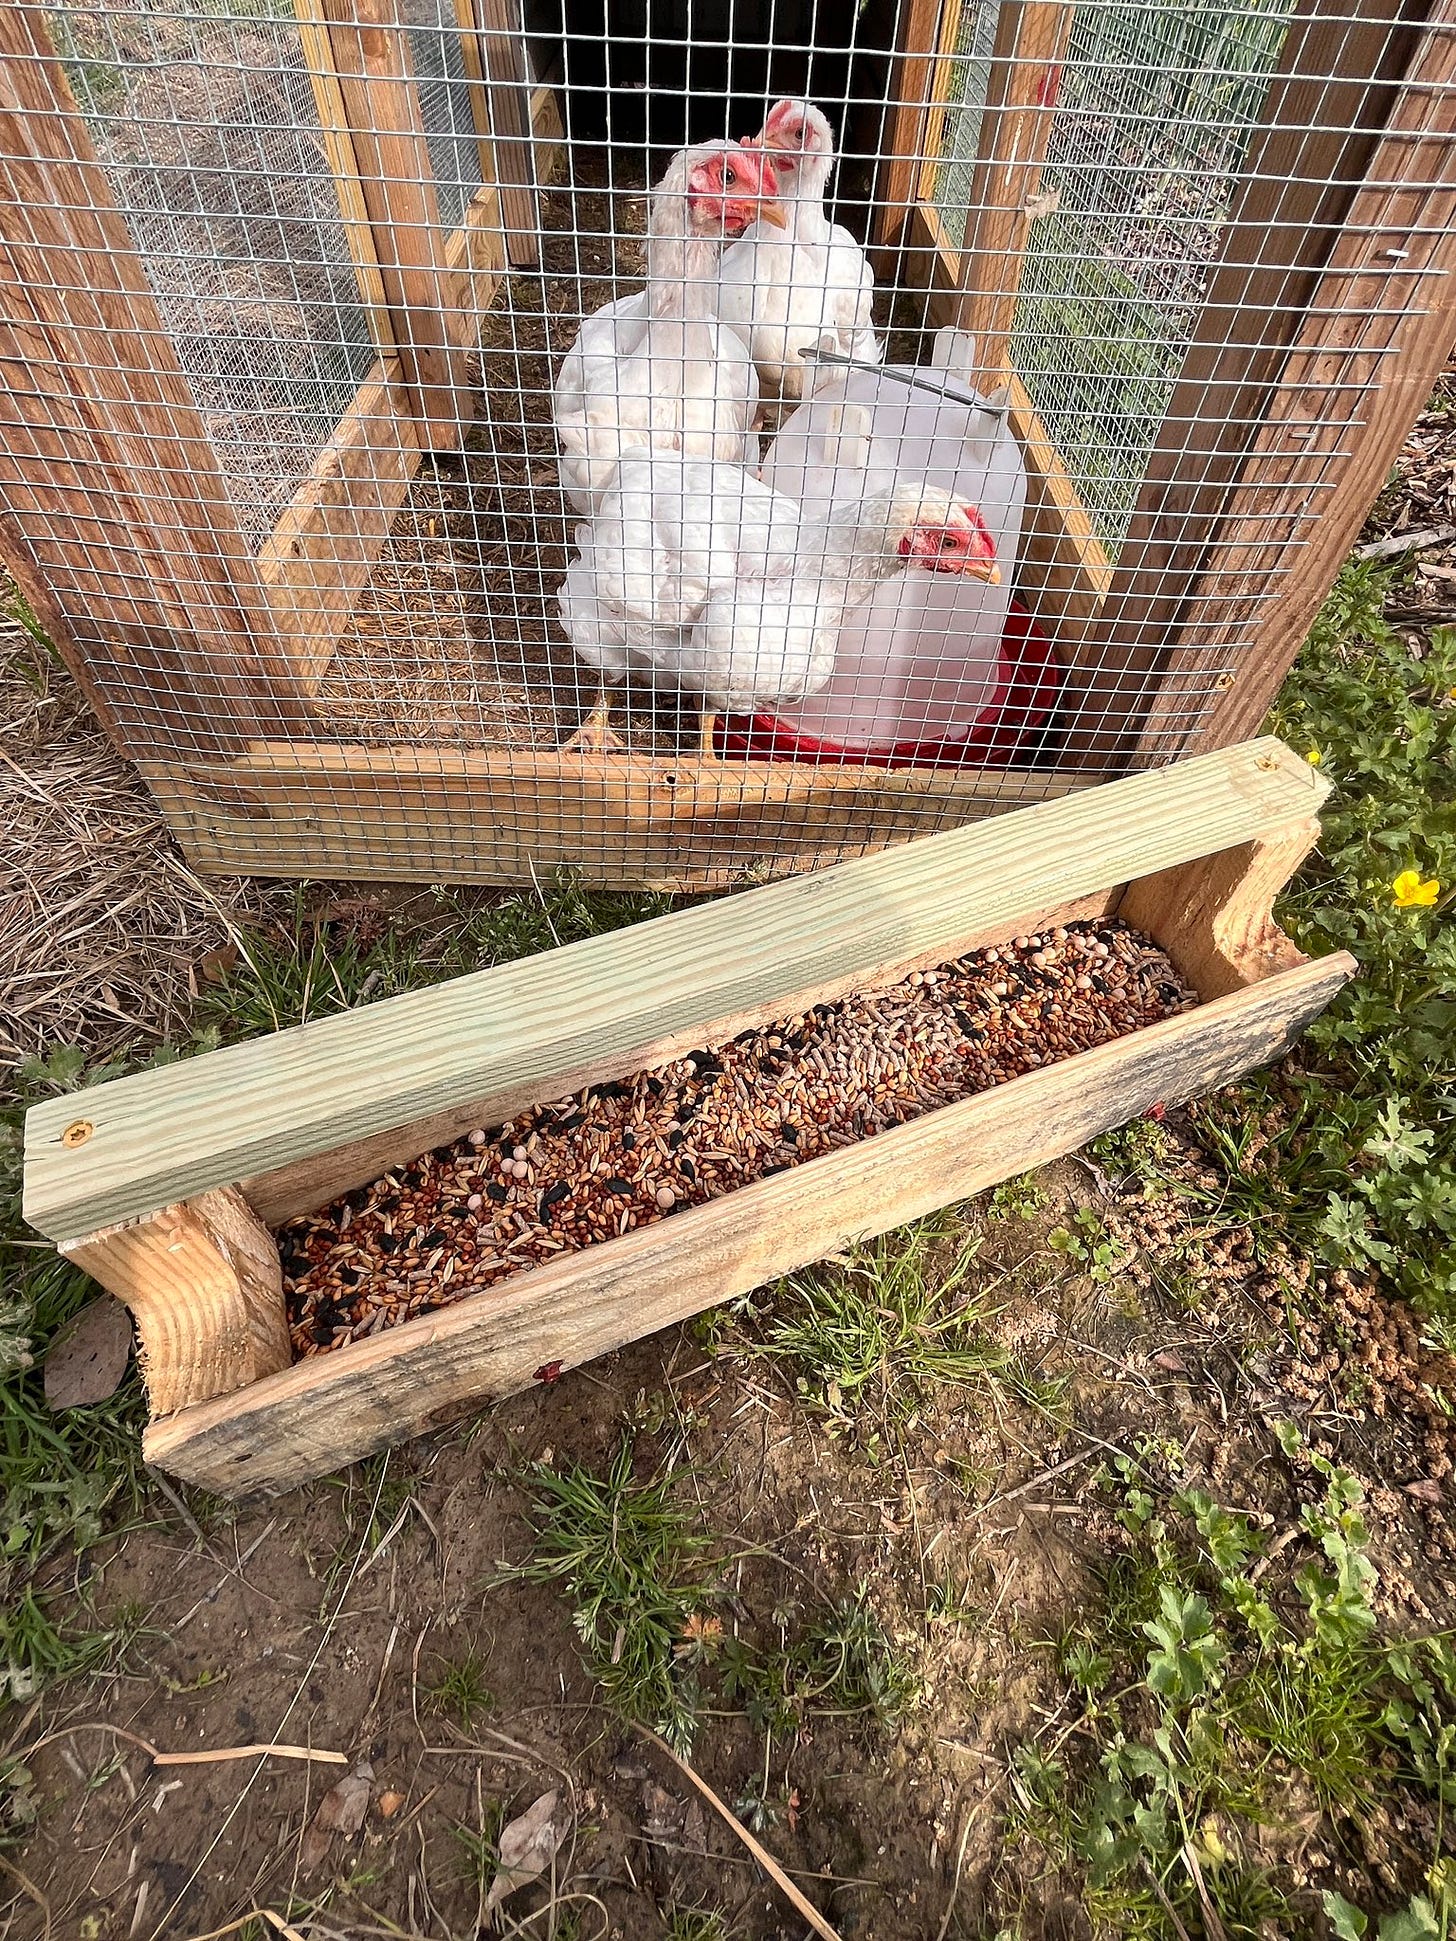
(This is the small chicken tractor I built for running down in between the rows of the garden. The 3 chicks shown here were ordered online from a popular Hatchery. They shipped to us and arrived the day we had just left for an emergency out of town trip. Only 3 out of 15 birds made it in that mishap. Such is farming)
The Setup Most Folks Use (and Why It Fails)
Most people who try to raise meat birds the “right” way start with a catalog.
They order 25 Cornish Cross chicks from a hatchery, pay shipping, get bags of high-dollar feed, build a brooder, and then hope they make it eight weeks without losing half the batch to heat, shipping issues, or leg issues.
Then they add up the feed, supplies, and lost birds… and realize they just paid $27 a pound for their own chicken (after all costs are added up).
Been there. Done that. Don’t do that anymore.
What I’ve done instead is set myself up over time with simple infrastructure that works. Nothing fancy, nothing expensive—just smart, reusable setups that make processing fast and low-stress.
Take the brooder, for example.
I built mine from a wooden crate I got from a local manufacturing plant. Thing's 8 feet long, 4 feet wide, 2 feet tall. Added some screened doors with hinges on top, rigged up hooks for feeders, waterers, and heat lamps—and that was it.
Most manufacturing places treat crates and pallets like trash. If you ask, they’ll practically beg you to take 'em.
And that’s the point—you don’t need to spend money when a little hustle will do. Build it right, use it again and again, and suddenly you’re not just raising chickens—you’re building a system.
The Glitch: Tyson Extras
I’ve got a buddy who raises meat birds for Tyson. Commercial operation, big-time numbers. That means there’s always a surplus—chicks that don’t match the shipment size, are a day off schedule, or are just plain extras.
To Tyson, they’re waste. To me, they’re dinner.
I get those chicks for next to nothing. Sometimes free. Sometimes a flat twenty for a box. Doesn’t matter—they just want 'em gone.
I bring them home, throw them in the brooder for a couple weeks, then move them to a pasture tractor. That’s where the magic happens.
These birds grow fast. I’m talking monster thighs and heavy breast meat—way bigger than the Cornish Cross you’ll pick up at Tractor Supply.
Yeah, they’re probably vaccinated before I ever get them. That’s the tradeoff. But raised right, on pasture with clean feed and space to move, they still turn into the best meat I’ve ever pulled out of a roasting pan.
And for the folks thinking they’re avoiding all that by buying chicks from Tractor Supply or online—hate to break it to you, but those are vaccinated too. Almost every big hatchery is running Marek’s vaccines at minimum, and a lot of them are pushing into the newer mRNA-style tech. That’s not fearmongering—it’s just fact.
So down the road, we will need to start raising our own meat birds from scratch. Hatch ‘em ourselves, grow ‘em clean. It takes more time, but if you want total control over what goes into your food, it’s the only real way.
For now, this system is a compromise I can live with—one that lets me learn, refine, and figure out whether this could be a real path to market.
Not just clean chicken for my own freezer, but maybe clean chicken for folks around here too—if they ever come around to caring what’s in their food.
Real Feed, Real Yard Time
In the tractor, they get sunlight, space, bugs, and grass. None of that warehouse stench. Just fresh air and movement.
I feed them an organic 6-way scratch mix and non-GMO layer pellets—nothing fancy, but clean. I found a feed source that sells both for $14 a bag, so I stock up at a great price.
That, plus fermented kitchen scraps and rotation across the pasture, keeps them growing solid without breaking the bank. Egg sales from the layers help offset feed costs too.
Here’s the general feed plan and timeline we follow:
Chick to Butcher Timeline (8 Weeks)
Week 1–2: Brooder Phase
Heat: 95°F down to 85°F
Feed: 100% starter (20–22% protein)
Bedding: Pine shavings
Water: Clean, warm, with optional probiotic/electrolyte first 3 days
No scratch feed yet
Week 3–4: Grower Phase
Heat: Cut heat after week 3 if fully feathered and nights stay above 60°F
Feed: 70% layer pellet + 30% 6-way scratch
Move to tractor once feathered and weather is stable
Start rotating on grass daily
Week 5–6: Grow + Finish Phase
Feed: 50/50 pellet + scratch
Birds start packing on weight, gaining real size
Adjust tractor rotation as manure builds up
Week 7–8: Finish Strong
Feed: 25% pellet + 75% scratch + pasture
Last 3–5 days: mostly scratch + pasture only
Let the growth mellow, fat develop, meat flavor up
The Processing Setup
We only do about 10–12 birds at a time. Not because we can’t do more, but because it keeps the work manageable and the freezer full without turning it into a full-time job.
If I were to buy chicks online and tried to sell these, the price wouldn’t touch the grocery store birds—and let’s be honest, most folks around here still see “free range” as a marketing gimmick, not a reason to pay more.
Now with the free chicken glitch from my buddy, the cost is getting closer to a viable market, but I’m still not in it to profit just yet.
So I raise for the family. I keep it clean, keep it small, and skip the headache of trying to convince people who don’t want to be convinced.
I built a lean-to off the back of the barn for butchering. Nothing fancy, but it keeps the mess outside and the process smooth. I picked up a Yardbird Plucker, it was a little pricey but it’s worth every penny. This one is built to last and was a much needed piece to make processing so much easier. Makes the job go fast and it works great. Trust me, I’ve plucked lots of birds by hand and it’s probably the worst job of all time.
So now we kill, scald, pluck, clean, chill, bag. A dozen birds in a morning and our freezer's happy for months.
Butcher Day Step Plan (Small Batch: 10–12 Birds)
TOOLS NEEDED:
Kill cones (or traffic cones)
Sharp knife (boning or filet)
Large pot for scalding (heated to 145–150°F)
Yardbird plucker (or hand-pluck if you hate yourself)
Stainless or plastic table
Buckets or tubs for offal
Ice water bath
Butcher Day Step Plan (10–12 Birds, Small Batch)
Step-by-Step Flow:
1. Pre-Butcher Hold (12–24 Hours Before)
Catch birds at night while they’re calm
Place them in a cage or crate off the ground (sawhorses or blocks work great)
No feed during this time—just clean water
This clears out their digestive system, keeps the carcasses clean, and makes evisceration faster and easier
Check the forecast—don’t butcher in high heat, storms, or strong wind
2. Setup & Heat Water (Morning Of)
Use a crawfish-style propane boiler and start early
Monitor temp with a clip-on candy thermometer or digital probe
Ideal temp is 145–150°F—too hot and you’ll tear skin in the plucker
While water heats, set up:
Kill cones (mounted or cone-style buckets)
Butchering table (plastic or stainless)
Ice water bath (big bin full of ice and cold water)
Yardbird plucker (check it's working ahead of time)
3. Dispatch
Place bird head-first into cone
Quick slice across both sides of the neck (jugulars, not windpipe)
Let bleed out for 1–2 minutes
Use a catch bucket or tray for blood
4. Scald
Dunk bird 3–5 times in the 145–150°F water, agitating slightly
Test a wing or tail feather—if it pulls easy, it’s ready
Don’t scald too long—over-scald leads to torn skin
5. Pluck
Into the Yardbird plucker, spin 15–30 seconds
Check for leftover feathers (wings and tail especially)
Hand-pluck anything missed
6. Eviscerate
Remove oil gland at the base of the tail
Cut around vent, gently pull intestines
Reach in and pull heart, lungs, liver, crop
Trim any excess fat or lining
Rinse bird thoroughly inside and out
7. Chill
Submerge into ice bath for at least 1 hour
Stir occasionally or rotate birds to cool evenly
Replace ice as needed—keep that water cold
8. Bag & Freeze
Use shrink bags (dip into ~180°F water briefly) or vacuum seal
Label with date, batch, and weight
Freeze flat for easy stacking and thawing
Pro Tips:
Get birds off feed 12–24 hours before butcher—cleans them out and keeps your table clean
Process in small batches—2–3 birds at a time keeps pace smooth
Sharpen your knife every few birds—don’t fight dull steel
Keep a hose nearby on low flow for rinsing and cleanup
Have a second set of hands if you can—it cuts your time in half
The Payoff
These birds are healthier, taste better, and don’t come with guilt, mystery meat, or a bloated price tag from a grocery aisle that still thinks “natural” means something.
The fat’s yellow. The skin crisps. The meat has flavor again.
And maybe most important—I don’t eat bleach chicken anymore.
You know the kind: rinsed in chlorine solution, sprayed down in a facility that processes 180,000 birds a day, bagged and labeled with words like “organic” or “free range” that don’t mean a damn thing once the carcass hits the chill tank.
Even the organic birds in big-box stores go through chemical processing. The difference between my birds and theirs? I know what didn’t touch mine.
And the whole system? Still cheaper, cleaner, and more satisfying than the book version.
Want to Try Something Similar?
If you know someone in the chicken business, ask what they do with their extras.
If you don’t, check your local feed store. Ask around. Buy someone a coffee. These side channels still exist—you just have to go looking for them.
What Else We Make (and Why)
Same with everything we do around here. No fluff. No middleman. No watered-down nonsense.
We’ve been making a balm too—great for dry skin, all-over moisture, and protection that actually works.
It’s called Bee Tallow Balm, made from grass-fed beef tallow, raw honey, propolis, and a little royal jelly.
No seed oils. No preservatives. Just the good stuff your skin actually wants.
I’ll talk more about that soon.
Same story: build it yourself, make it clean, do it better than what’s on the shelf.
And the same goes for our handcrafted soaps made with custom recipes we’ve been using ourselves for over a decade—and they’re finally back in stock.
But for now, if you’ve got a little yard and a freezer, you’ve got the makings of a cleaner, cheaper meat supply.
No feedlot. No fuss.
Just birds, bugs, and a better plan.
It’s been a while, what do you want to talk about next time? Drop a comment, I’d love to hear from you.
Your Friend,
Farmer


